
I’m one of those weird people who actually enjoys my job, and one of the most interesting elements to me is analyzing food trends. Each week we scour social media and other food sites to see what’s trending in the world of noms, and salted caramel came up on the list last week. Salted caramel is everywhere. Now, I’ll admit, salt + caramel did not = delicious in my mind before I tried it. But, I’m telling you, after trying this I decided that salting your caramel is always a good idea. Always.
Now, about this apple tart. It’s even more delicious than it is pretty. I don’t even really like pie, but I’ll definitely be making this recipe again.
Although it has its fair amount of sugar and butter, it’s definitely lighter than most apple pie recipes. Since it’s a tart, there’s no pie crust on top. I used a frozen whole wheat pie shell from Whole Foods (Wholly Wholesome brand), and it was unbelievably delicious. It didn’t taste “healthy” at all, it tasted different but better than a normal pie crust in my opinion.
Then there’s the filling. Instead of a goopy mess of apples, sugar and cinnamon, this apple tart is layered with thinly sliced apples, sugar and butter. That’s it! The texture of the thin apples is perfect.
Last (but DEFINITELY not least) is the homemade salted caramel sauce. It’s milky and sweet in the beginning with a calm salty aftertaste. As soon as I tried this salted caramel sauce I wanted to smother it on everything from raw apples, to oatmeal, to ice cream, and pretty much everything else I eat.
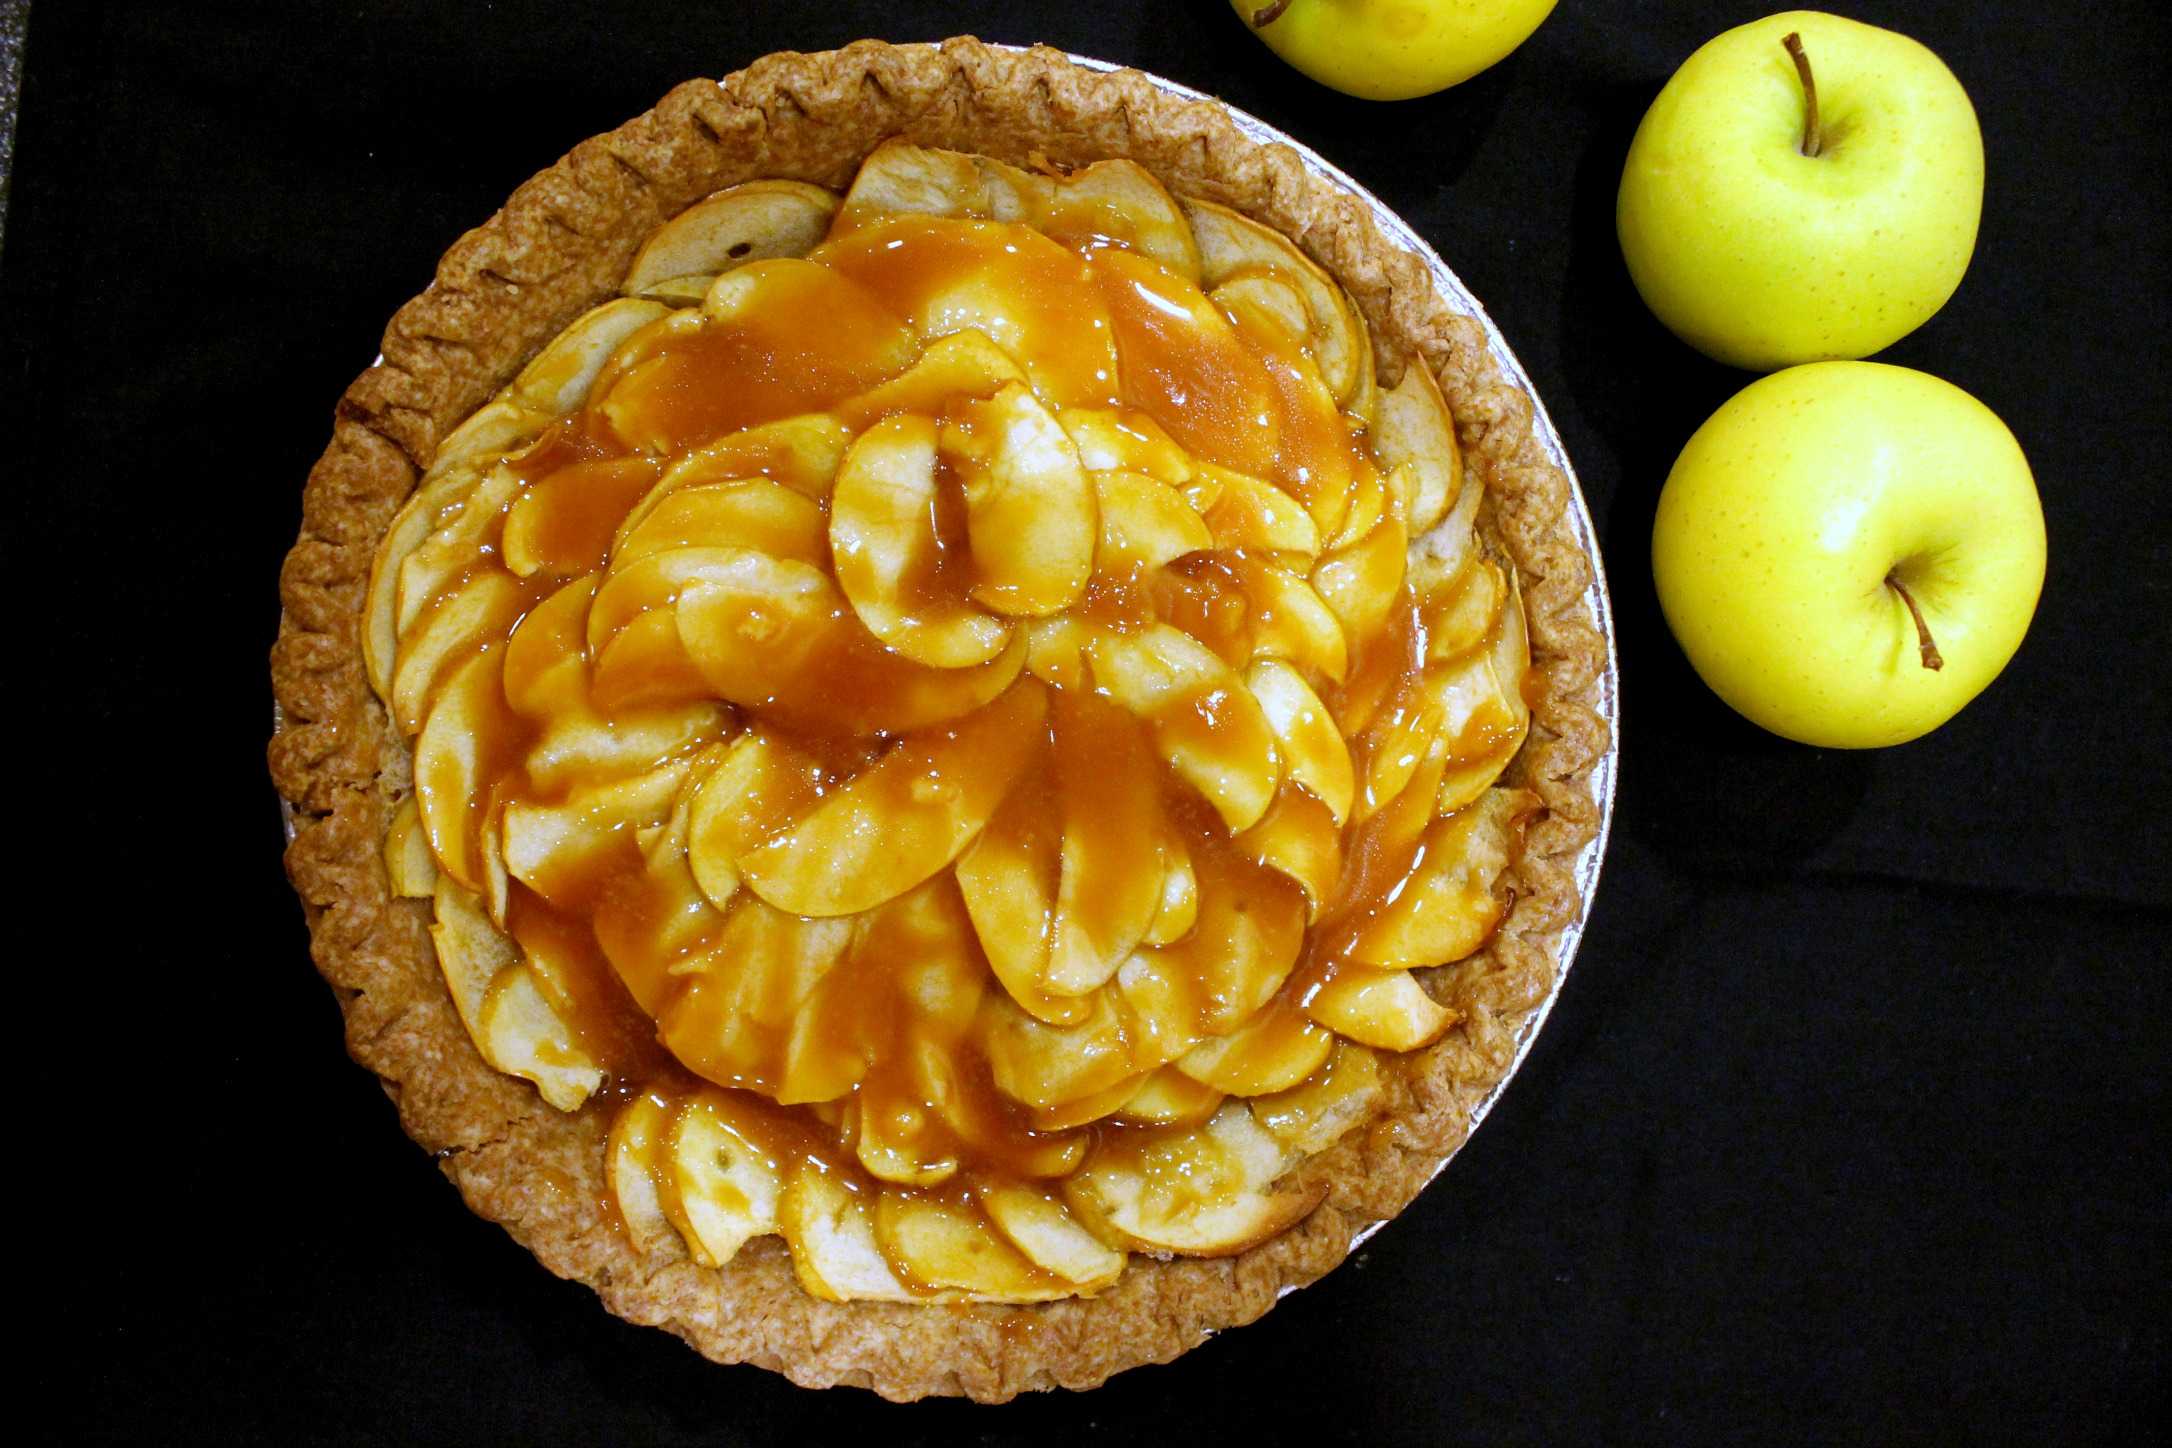
The beauty of this recipe is in its simplicity. The soft, thin slices of apples are just sweet enough and the salted caramel sauce on top makes it taste like a pie without making it too heavy. For someone who’s not crazy about apple pie, I’m definitely crazy about this Salted Caramel Apple Tart. *pats self on back*
Salted Caramel Apple Tart
What You Need:
1 frozen whole wheat pie shell
3 large or 4 medium apples (about 1 1/4 pounds)
2 tablespoons granulated sugar
2 tablespoons unsalted butter, cold, cut into small bits
Homemade Salted Caramel Glaze:
1/4 cup granulated sugar
2 tablespoons unsalted butter (or salted, but then ease up on the sea salt)
1/4 teaspoon sea salt (or half as much table salt)
2 tablespoons vanilla almond milk, heavy cream or milk
What You Do:
1. Preheat oven to 400 degrees F. Place the pie shell (in its aluminum tin) on a baking sheet and let it sit on the counter while you prepare your apples.
2. Cut your apples in half top-to-bottom and remove its core (I used a paring knife). Using a mandolin, slice the apples about 1/16 – inch thick. You can also use a knife, but try to get them as thin as you can. But PLEASE use a mandolin if you have one – it’s worth it.
3. Fan the apples around the pie shell in slightly overlapping circles — each apple should overlap the one before so that only about 3/4-inch of the previous apple will be visible — until you reach the middle. Sprinkle the apples evenly with the first two tablespoons of sugar then dot with the first two tablespoons butter.
4. Bake for 30 minutes, or until the edges of the pie shell are brown and the edges of the apples begin to take on some color. If you sliced your apples by hand and they were on the thicker side, you might need a little more baking time to cook them through. The apples should feel soft, but dry to the touch.
5. Meanwhile, about 20 minutes into the baking time, make your glaze. In a small saucepan over medium-high heat, melt your last 1/4 cup sugar; this will take about 3 minutes. Cook the liquefied sugar to a nice copper color, another minute or two. Turn the heat off and quickly add the sea salt and butter and stir until the butter melts and is incorporated.
6. Add the heavy cream and return to the stove over medium heat. Cook, stirring constantly, until you have a lovely, bronzed caramel syrup, just another minute, two, tops. This whole process should be done quickly so the caramel doesn’t become too thick.
7. Set the caramel aside until needed. If it thickens up, you may need to briefly rewarm it to thin the caramel before brushing it over the tart.
8. Once your tart is ready, pour or brush the caramel glaze overtop. Return to the oven for another 5 to 10 minutes. Serve warm.