• Skip to main content
  • Skip to primary sidebar

Smile Sandwich logo

  • Home
  • My Favorite Things
  • How To Start a Food Blog
  • About
    • Contact
    • Privacy Policy
  • Recipe Index
  • Links

Recipes

Healthy Pumpkin Pie Ice Cream

November 18, 2013

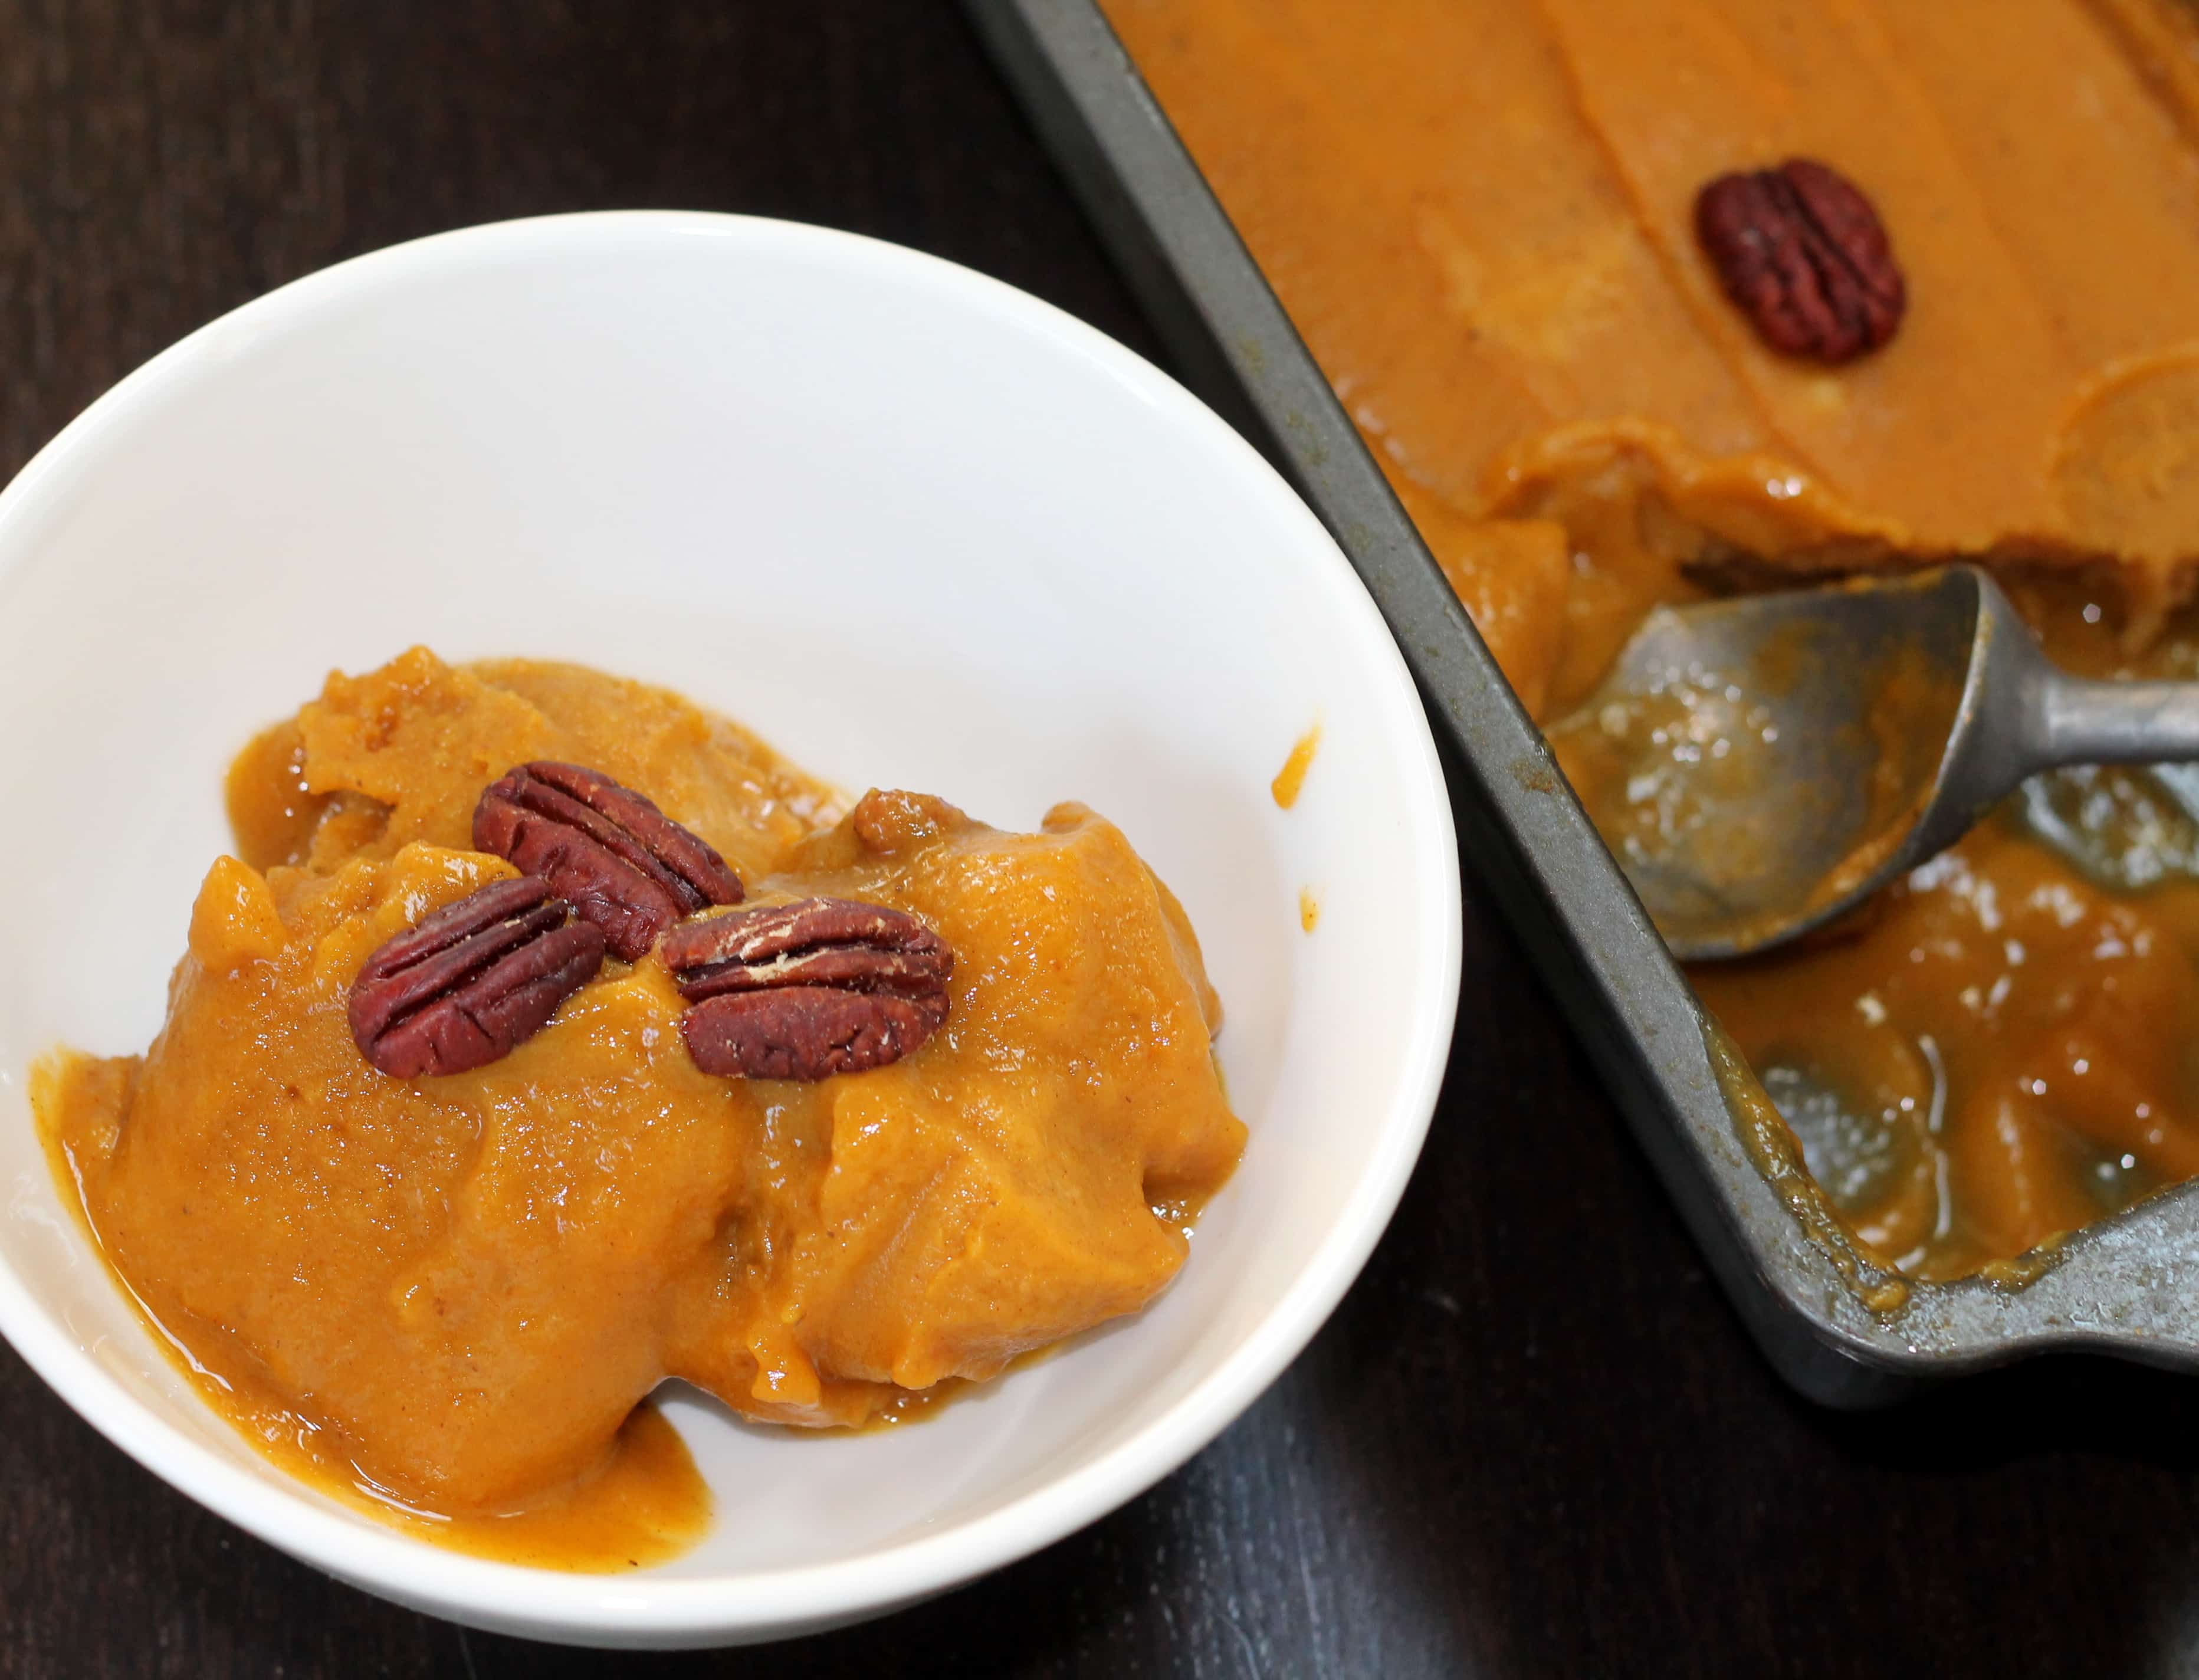
I know what you’re thinking … ice cream in November?! All I have to say is YES. We had a warmer weekend here in the midwest, and I took full advantage of the above-freezing temperatures by making this super easy, healthy, 4-ingredient pumpkin pie ice cream. 🙂

I’ve also been gearing up for my family’s epic Thanksgiving feast. I’ll be spending the holiday in North Carolina, which happens to have ice cream-friendly weather almost all year. Since my mom eats mostly paleo, I thought this ice cream would be the perfect thing to make for her Thanksgiving dessert. It honestly tastes just like a pumpkin pie, but colder and creamier and much, much healthier.


Pumpkin Pie Ice Cream

I used a lot of pumpkin puree in mine, and it made it super rich and pumpkin-y, which is a good thing in my book. If you’re not so into it, cut down the pumpkin to about 1/2 cup.

You can’t buy happiness but you can buy ice cream, and that’s kind of the same thing.

IMG_1873

What You Need:

4 bananas, cut into slices and frozen

1 cup pumpkin puree

1 tsp pumpkin pie spice

1/4 cup maple syrup

What You Do:

1. Mix all the ingredients together in a food processor until smooth. Pour into any dish and freeze for at least 4 hours or overnight.

2. When you’re ready to enjoy, let it sit on the counter for about 20 minutes. ENJOY! (I know you will)

Pumpkin Pie Ice Cream

This was my lunch, mid-nom.

Filed Under: Recipes

Salted Caramel Apple Tart

November 13, 2013

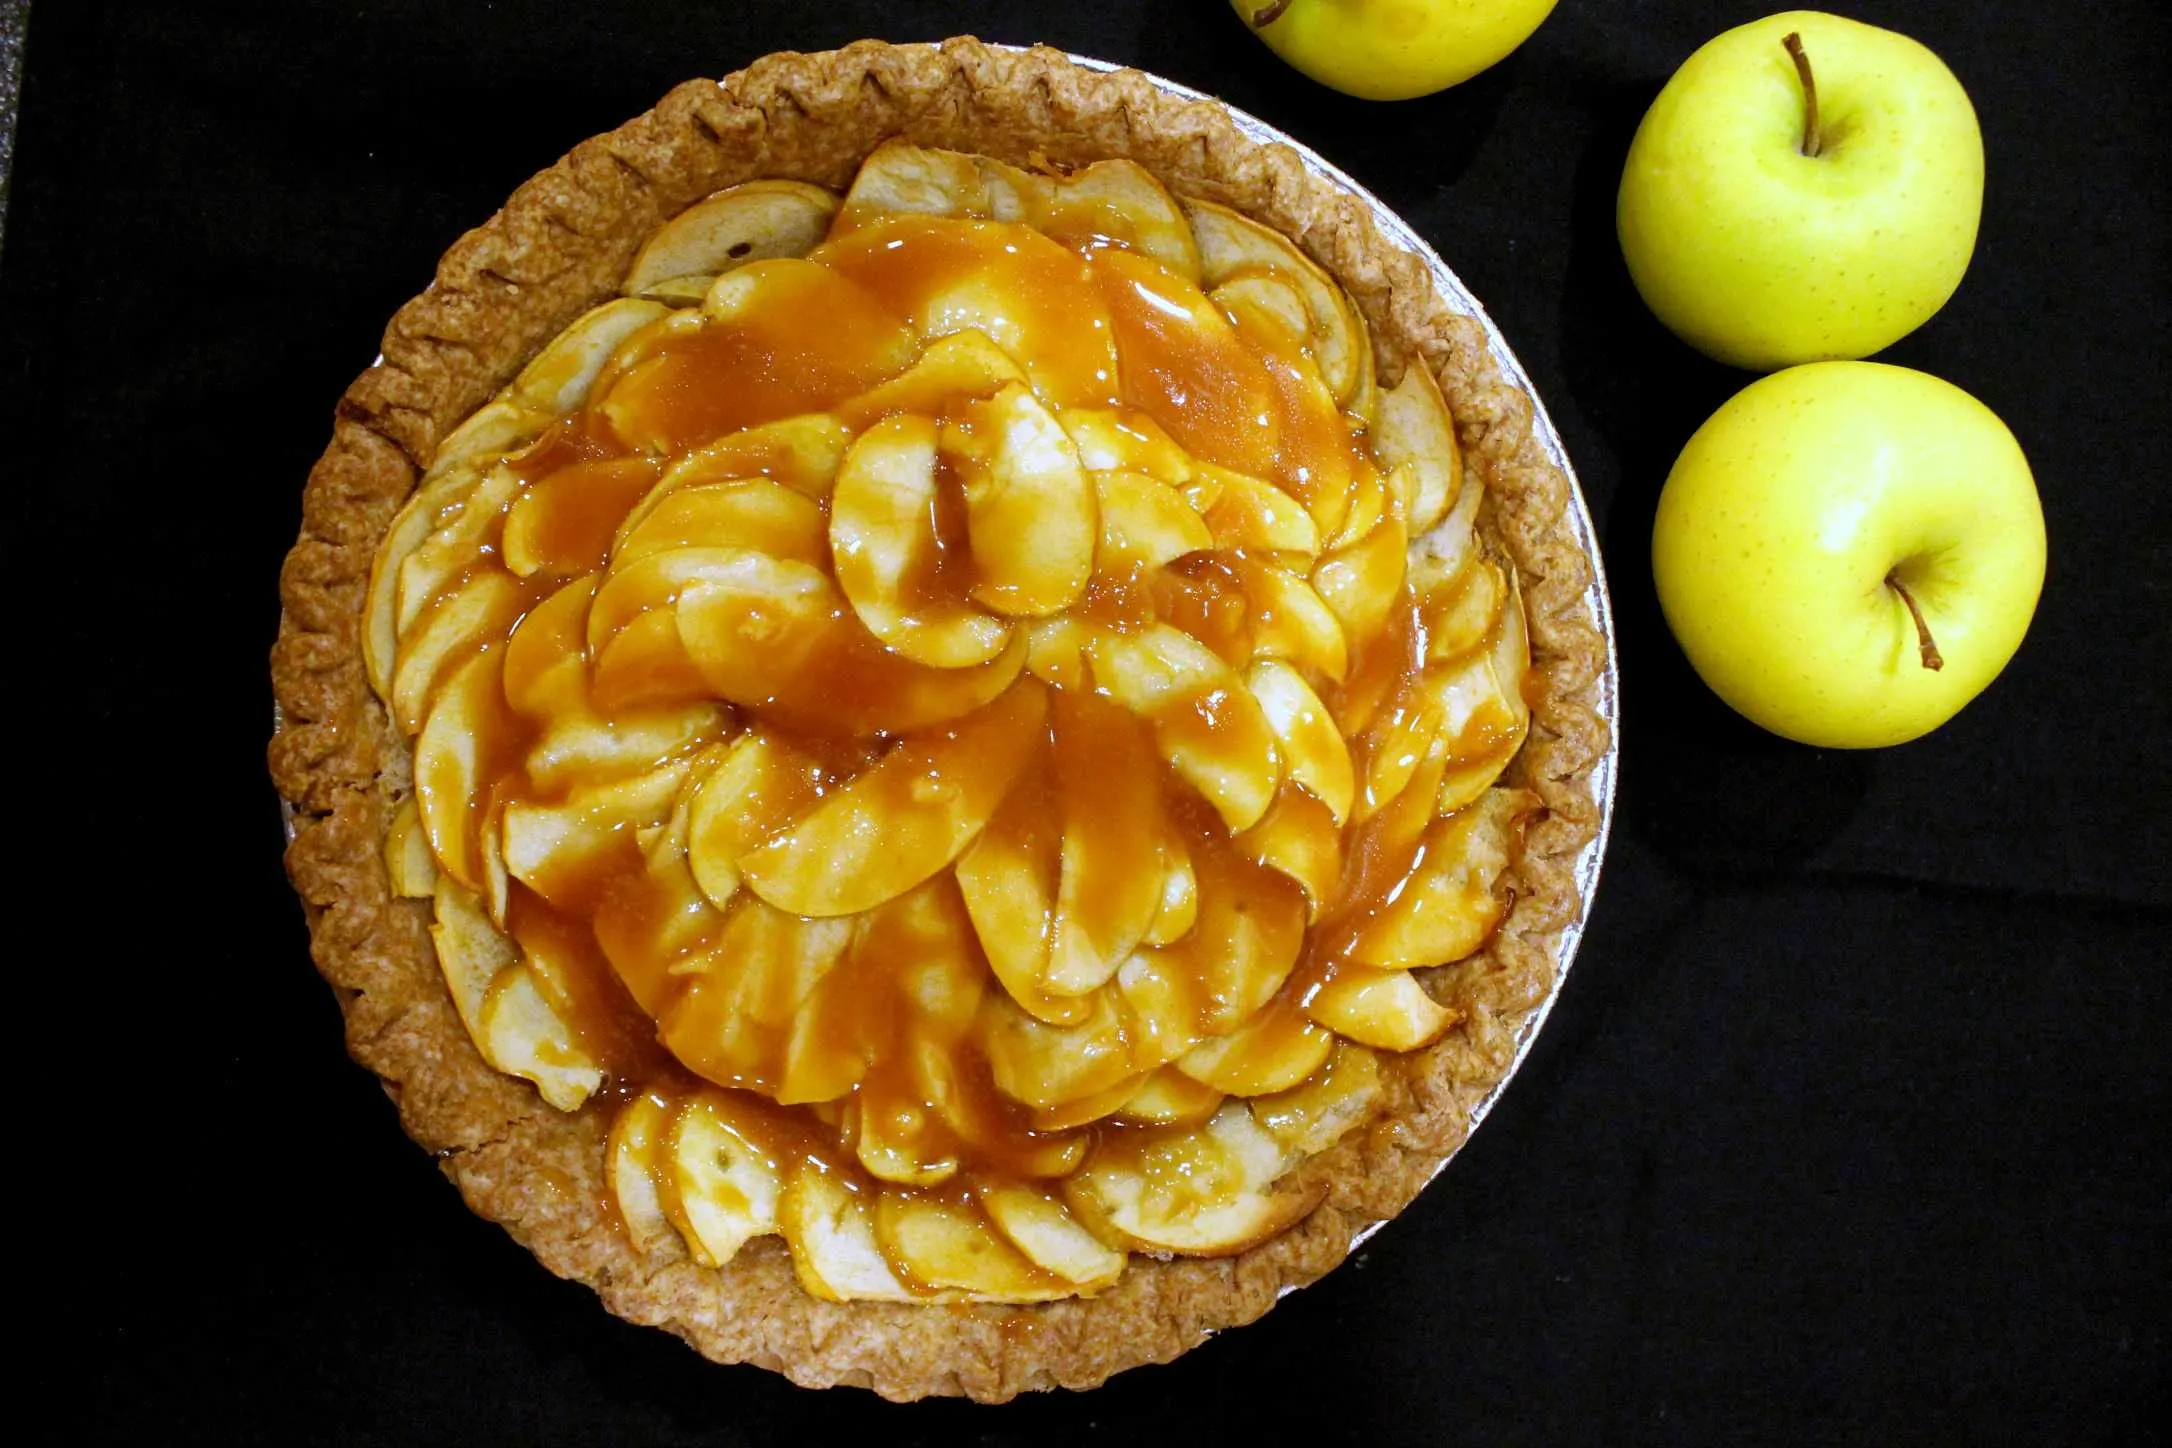
I’m one of those weird people who actually enjoys my job, and one of the most interesting elements to me is analyzing food trends. Each week we scour social media and other food sites to see what’s trending in the world of noms, and salted caramel came up on the list last week. Salted caramel is everywhere. Now, I’ll admit, salt + caramel did not = delicious in my mind before I tried it. But, I’m telling you, after trying this I decided that salting your caramel is always a good idea. Always.

Now, about this apple tart. It’s even more delicious than it is pretty. I don’t even really like pie, but I’ll definitely be making this recipe again.

Although it has its fair amount of sugar and butter, it’s definitely lighter than most apple pie recipes. Since it’s a tart, there’s no pie crust on top. I used a frozen whole wheat pie shell from Whole Foods (Wholly Wholesome brand), and it was unbelievably delicious. It didn’t taste “healthy” at all, it tasted different but better than a normal pie crust in my opinion.

Then there’s the filling. Instead of a goopy mess of apples, sugar and cinnamon, this apple tart is layered with thinly sliced apples, sugar and butter. That’s it! The texture of the thin apples is perfect.

Last (but DEFINITELY not least) is the homemade salted caramel sauce. It’s milky and sweet in the beginning with a calm salty aftertaste. As soon as I tried this salted caramel sauce I wanted to smother it on everything from raw apples, to oatmeal, to ice cream, and pretty much everything else I eat.

Salted Caramel Apple Tart

The beauty of this recipe is in its simplicity. The soft, thin slices of apples are just sweet enough and the salted caramel sauce on top makes it taste like a pie without making it too heavy. For someone who’s not crazy about apple pie, I’m definitely crazy about this Salted Caramel Apple Tart. *pats self on back*

Salted Caramel Apple Tart

What You Need:
1 frozen whole wheat pie shell
3 large or 4 medium apples (about 1 1/4 pounds)
2 tablespoons granulated sugar
2 tablespoons unsalted butter, cold, cut into small bits

Homemade Salted Caramel Glaze:
1/4 cup granulated sugar
2 tablespoons unsalted butter (or salted, but then ease up on the sea salt)
1/4 teaspoon sea salt (or half as much table salt)
2 tablespoons vanilla almond milk, heavy cream or milk

What You Do:

1. Preheat oven to 400 degrees F. Place the pie shell (in its aluminum tin) on a baking sheet and let it sit on the counter while you prepare your apples.

2.  Cut your apples in half top-to-bottom and remove its core (I used a paring knife). Using a mandolin, slice the apples about 1/16 – inch thick. You can also use a knife, but try to get them as thin as you can. But PLEASE use a mandolin if you have one – it’s worth it.

3. Fan the apples around the pie shell in slightly overlapping circles — each apple should overlap the one before so that only about 3/4-inch of the previous apple will be visible — until you reach the middle. Sprinkle the apples evenly with the first two tablespoons of sugar then dot with the first two tablespoons butter.

4. Bake for 30 minutes, or until the edges of the pie shell are brown and the edges of the apples begin to take on some color. If you sliced your apples by hand and they were on the thicker side, you might need a little more baking time to cook them through. The apples should feel soft, but dry to the touch.

5. Meanwhile, about 20 minutes into the baking time, make your glaze. In a small saucepan over medium-high heat, melt your last 1/4 cup sugar; this will take about 3 minutes. Cook the liquefied sugar to a nice copper color, another minute or two. Turn the heat off and quickly add the sea salt and butter and stir until the butter melts and is incorporated.

6. Add the heavy cream and return to the stove over medium heat. Cook, stirring constantly, until you have a lovely, bronzed caramel syrup, just another minute, two, tops. This whole process should be done quickly so the caramel doesn’t become too thick.

7. Set the caramel aside until needed. If it thickens up, you may need to briefly rewarm it to thin the caramel before brushing it over the tart.

8. Once your tart is ready, pour or brush the caramel glaze overtop. Return to the oven for another 5 to 10 minutes. Serve warm.

Best Pie Ever.

Source

Filed Under: Recipes

Jalapeno Butternut Squash Soup

November 12, 2013

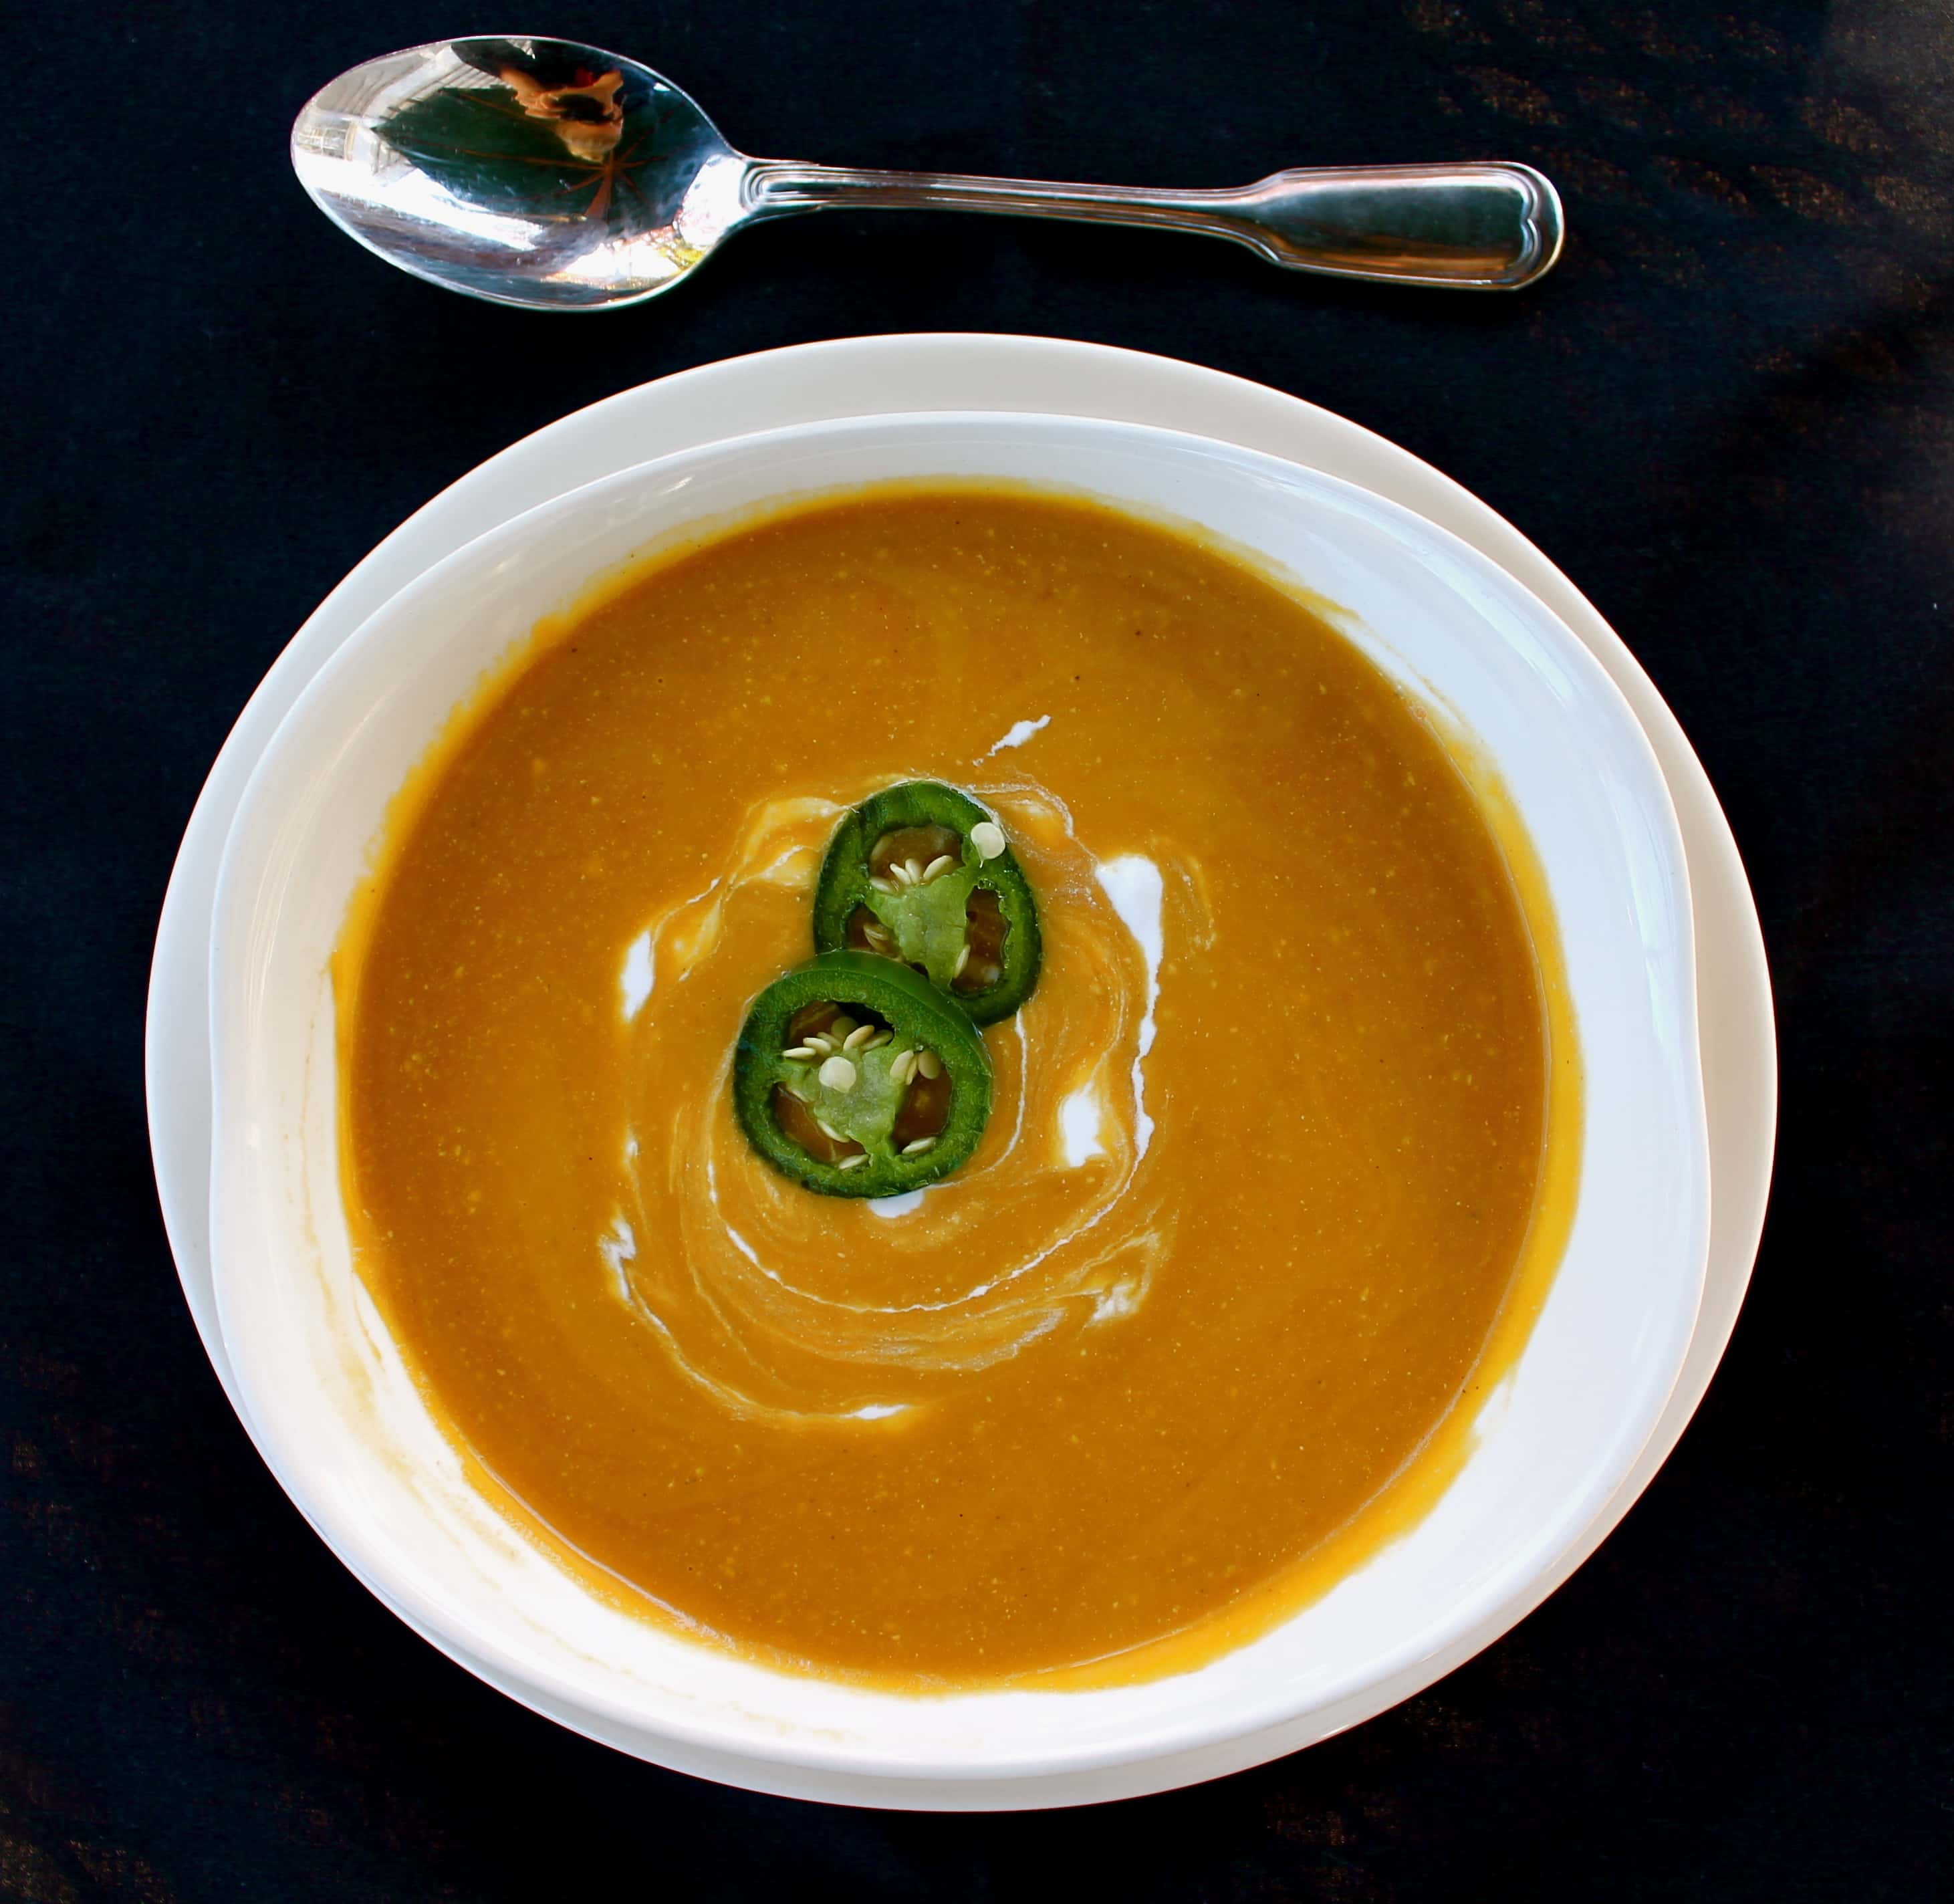
When life hands me pounds of butternut squash, I make soup. And I put jalapenos in it. I froze all the jalapenos from our container garden this summer and have been looking for healthy ways to use them. Since they lose their crunch after being frozen, I figured blending them into soup was the perfect solution.

What I REALLY wanted to do was make jalapeno gnocchi,  a dish that I tried at a restaurant last week that was possibly the best gnocchi I’ve had. However, I have officially entered into a diet challenge with my sisters for the holidays. And since there’s free swag on the line, no gnocchi for me. This soup is a close second.

The jalapeno doesn’t add too much flavor, but it adds just enough kick. I left the seeds in because I like it hot, but if you don’t then scoop them out. I’m telling you, just a tiny bit of kick adds something special to butternut squash soup.

(I spy with my little eye … myself. In a spoon. Hehe.)

Jalapeno Butternut Squash Soup

Jalapeno Ginger Butternut Squash Soup

What You Need:

  • 2 tablespoons olive oil
  • 1 medium onion, diced
  • 1 cup carrots, diced
  • 6 cloves garlic, chopped
  • 2 tablespoons grated ginger
  • 2 jalapeño chiles, seeded and chopped
  • 1 tablespoon salt
  • 1/4 teaspoon cayenne
  • 4 pounds butternut squash, peeled and cut into 2-in. cubes
  • 3 cups chicken broth
  • 1 tablespoon light brown sugar
  • 3 tablespoons heavy whipping cream, milk or sour cream (I used vegan sour cream)

What You Do:

  1. Heat olive oil in a 4- to 5-qt. pot over high heat. Add onion and carrot and cook until the onions begin to caramelize.
  2. Add garlic, ginger, jalapeño, and salt. Cook, stirring constantly, until fragrant but not yet browned, 1 to 2 minutes. Add cayenne and cook, stirring, for 30 seconds. Add squash, broth, brown sugar, and 3 cups water. Bring to a boil, lower heat to a simmer, and cook, stirring occasionally, until squash is tender, about 20 minutes.
  3. In an immersion blender or regular blender, purée the soup until smooth. Stir in cream and adjust seasonings to taste. Serve hot.

Source


Filed Under: Recipes

Pumpkin Quinoa Granola

October 16, 2013

Oh look, another pumpkin recipe! Don’t worry, this won’t be the last. Anyhoot, granola is one of my favorite things to make because A. It’s delicious, B. It’s easy, and C. Buying granola at the store is expensive and full of odd ingredients and just generally not as fun. This is one of my favorite granola recipes yet!

This time, I decided to add quinoa and chia seeds … for my health. Then I added dried fruit and white chocolate chips … because I can. The result: delicious granola that I generously sprinkle on vanilla Greek yogurt for breakfast every morning until it runs out.

IMG_1190

I don’t know if it’s just me, but every time I make granola I nearly burn it. So please note: Even if it’s still soft and doesn’t look like it wants to come out of the oven yet, it definitely does! It will get crunchy once it cools, I promise.

Although Trader Joe’s isn’t perfect for everyday grocery needs, it is perfect for granola making because they have cheap dried fruit blends and nut blends! Plus, I got pumpkin pie spice there for $1.99, which is the cheapest I’ve seen it!

Pumpkin Quinoa Granola

Adapted from Skinny Taste

What You Need:

  • 1/4 cup uncooked quinoa
  • 1 1/2 cups oats
  • 2 tablespoons chia seeds
  • 1/4 cup sunflower seeds
  • 1/4 cup chopped pecans
  • 1/4 cup almonds
  • 1/2 cup dried fruit (I used Trader Joe’s Golden Berry Blend)
  • 1/3 cup real maple syrup (or honey)
  • 1/4 cup pumpkin puree
  • 1 tsp oil (coconut or canola)
  • 1 tsp pumpkin pie spice (or more to taste)
  • 1/4 tsp cinnamon
  • pinch kosher salt
  • 1/2 tsp vanilla extract

What You Do:

1. Preheat oven to 325 degrees F. Spread oats, quinoa and chia seeds on parchment lined baking pan, toast in oven for 10 minutes.

2. Meanwhile, combine wet ingredients in a medium bowl. Once oats and quinoa are toasted, combine them with all other dry ingredients.

3. Add the dry ingredients to the wet and mix with a spatula. Spread granola onto one or two baking sheets.

4. Reduce oven temperature to 300 degrees F and bake for 20 minutes.

Filed Under: Recipes

Man Food: 6 Ideas of What to Cook for a Guy

October 2, 2013

My feminist friends are going to hate me for this but I can explain.

…

Read More

Filed Under: Chicken Recipes, Dinner, Musings, Recipe Roundups, Recipes

Classic Homemade Bruschetta

August 24, 2013

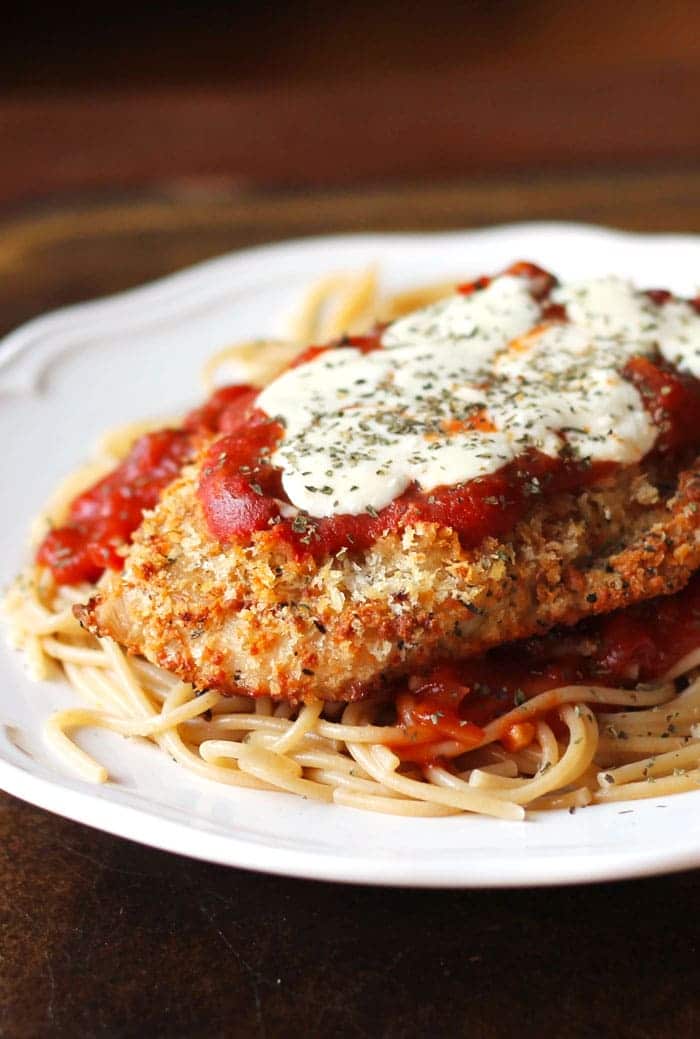
I was going to go ahead and take credit for this masterpiece, but decided it was unfair since the only part I had in it was sipping wine while watching my sister make it. And, of course, eating it. But what would a great recipe be without people to eat it?! So, as far as I see it, I was in fact an important contributing factor in making of this Italian feast.

Easy Bruschetta Recipe

My sister is going to Italy next week, and to prepare she took an Italian cooking class. Although I previously thought of gnudi as being something completely non food-related starting with an ‘n’ (har har), my eyes have been opened to gnudi – the naked ravioli. When paired with heirloom tomato bruschetta, you have a nearly perfect appetizer line-up.

I stole this easy bruschetta recipe from my sister to post, since I love bruschetta but only ever have it when I visit North Carolina. A crate of small heirloom tomatoes was $5 at the farmer’s market, and most other produce was much cheaper here than in Chicago. If you’re looking for a way to use farmer’s market vegetables (tomatoes and basil), or want to learn how to make bruschetta, here it is. I can’t claim ownership of this recipe for bruschetta – sharing it is about the best I can do.

Easy Bruschetta Recipe Easy Bruschetta Recipe Easy Bruschetta Recipe

Easy Homemade Bruschetta Recipe

What you need:

1 loaf Italian bread

1 pound cherry heirloom tomatoes (or 2 large)

1 clove garlic, chopped

2 Tablespoons olive oil

1 Tablespoon balsamic vinegar

1/2 cup Parmesan Reggiano

Fresh basil leaves, chopped (for garnish)

Salt and pepper, to taste

What you do:

1. Preheat oven to 350 degrees F.

2. Slice bread and arrange on greased cookie sheet.

3. In a medium bowl, mix chopped tomatoes, garlic, olive oil, vinegar, salt and pepper. Top each bread slice with the tomato mixture and Parmesan.

4. Bake for 12 minutes or until desired crispiness. Sprinkle with extra Parmesan and basil.

Filed Under: Recipes

Copycat Protein Bar Buffalo Bowl

July 23, 2013

I’m picking up the momentum again on the blog. So if you like it, you are welcome! Suggestions are always appreciated. And if you don’t like it, then I don’t like you. Go away. 🙂

If you’ve never been to Protein Bar in Chicago, you’re truly missing out, particularly on their buffalo bowl. All-natural chicken + organic quinoa + homemade buffalo sauce + blue cheese = heaven in a bowl. What you’re not missing out on is their prices. SO why not make said bowl at home?! Save a buck, buy a new swimsuit. Or a vacation. Or a gym membership. Whatever you want.

IMG_0263

This recipe is great if you pack your lunch because it will keep in the fridge for a few days. I made a big bowl and ate it all week! You can eat it warm like rice or cold like a salad – either way, it’s like chicken wings but healthy. What’s not to love?!

Oh, and it’s super easy. I didn’t really measure anything, just threw it all together and tossed. I did my best to measure the ingredients below, but eyeball it. If you’d like more veggies – throw em in. If it’s not buffalo-y for ya, lube it up. I didn’t have any, but I’d highly recommend adding blue cheese or feta, if you’re into that sorta thing. I am.

Beer pairing: Any.

Copycat Protein Bar Buffalo Bowl

What you need:

1 cup dry organic quinoa

1 3/4 cups chicken stock (or water)

2 stalks celery, chopped

2 large carrots, peeled and chopped

1 all-natural chicken breast

Cheese (blue, feta, cheddar, I don’t care go crazy)

Store-bought buffalo sauce (look for one with the lowest sodium)

S&P to taste

What you do:

1. Add dry quinoa and chicken stock to large pot. Bring to a rapid boil, turn heat to low. Cover and cook for 15 minutes or until quinoa is no longer crunchy.

2. Meanwhile, bake your chicken breast until it’s done. You can also use a store-bought rotisserie.

3. Once chicken and quinoa are cooked, throw everything together in a large bowl.

4. Toss, toss, toss. Taste. Add more sauce. Toss again. 🙂

Filed Under: Recipes Tagged With: chicken, copycat recipe, lunch recipe, recipes with quinoa

  • « Go to Previous Page
  • Go to page 1
  • Interim pages omitted …
  • Go to page 36
  • Go to page 37
  • Go to page 38

Primary Sidebar

Let’s Get Social!

  • Instagram
  • Pinterest

Search

Copyright© 2023 · Brunch Pro by Feast Design Co.