
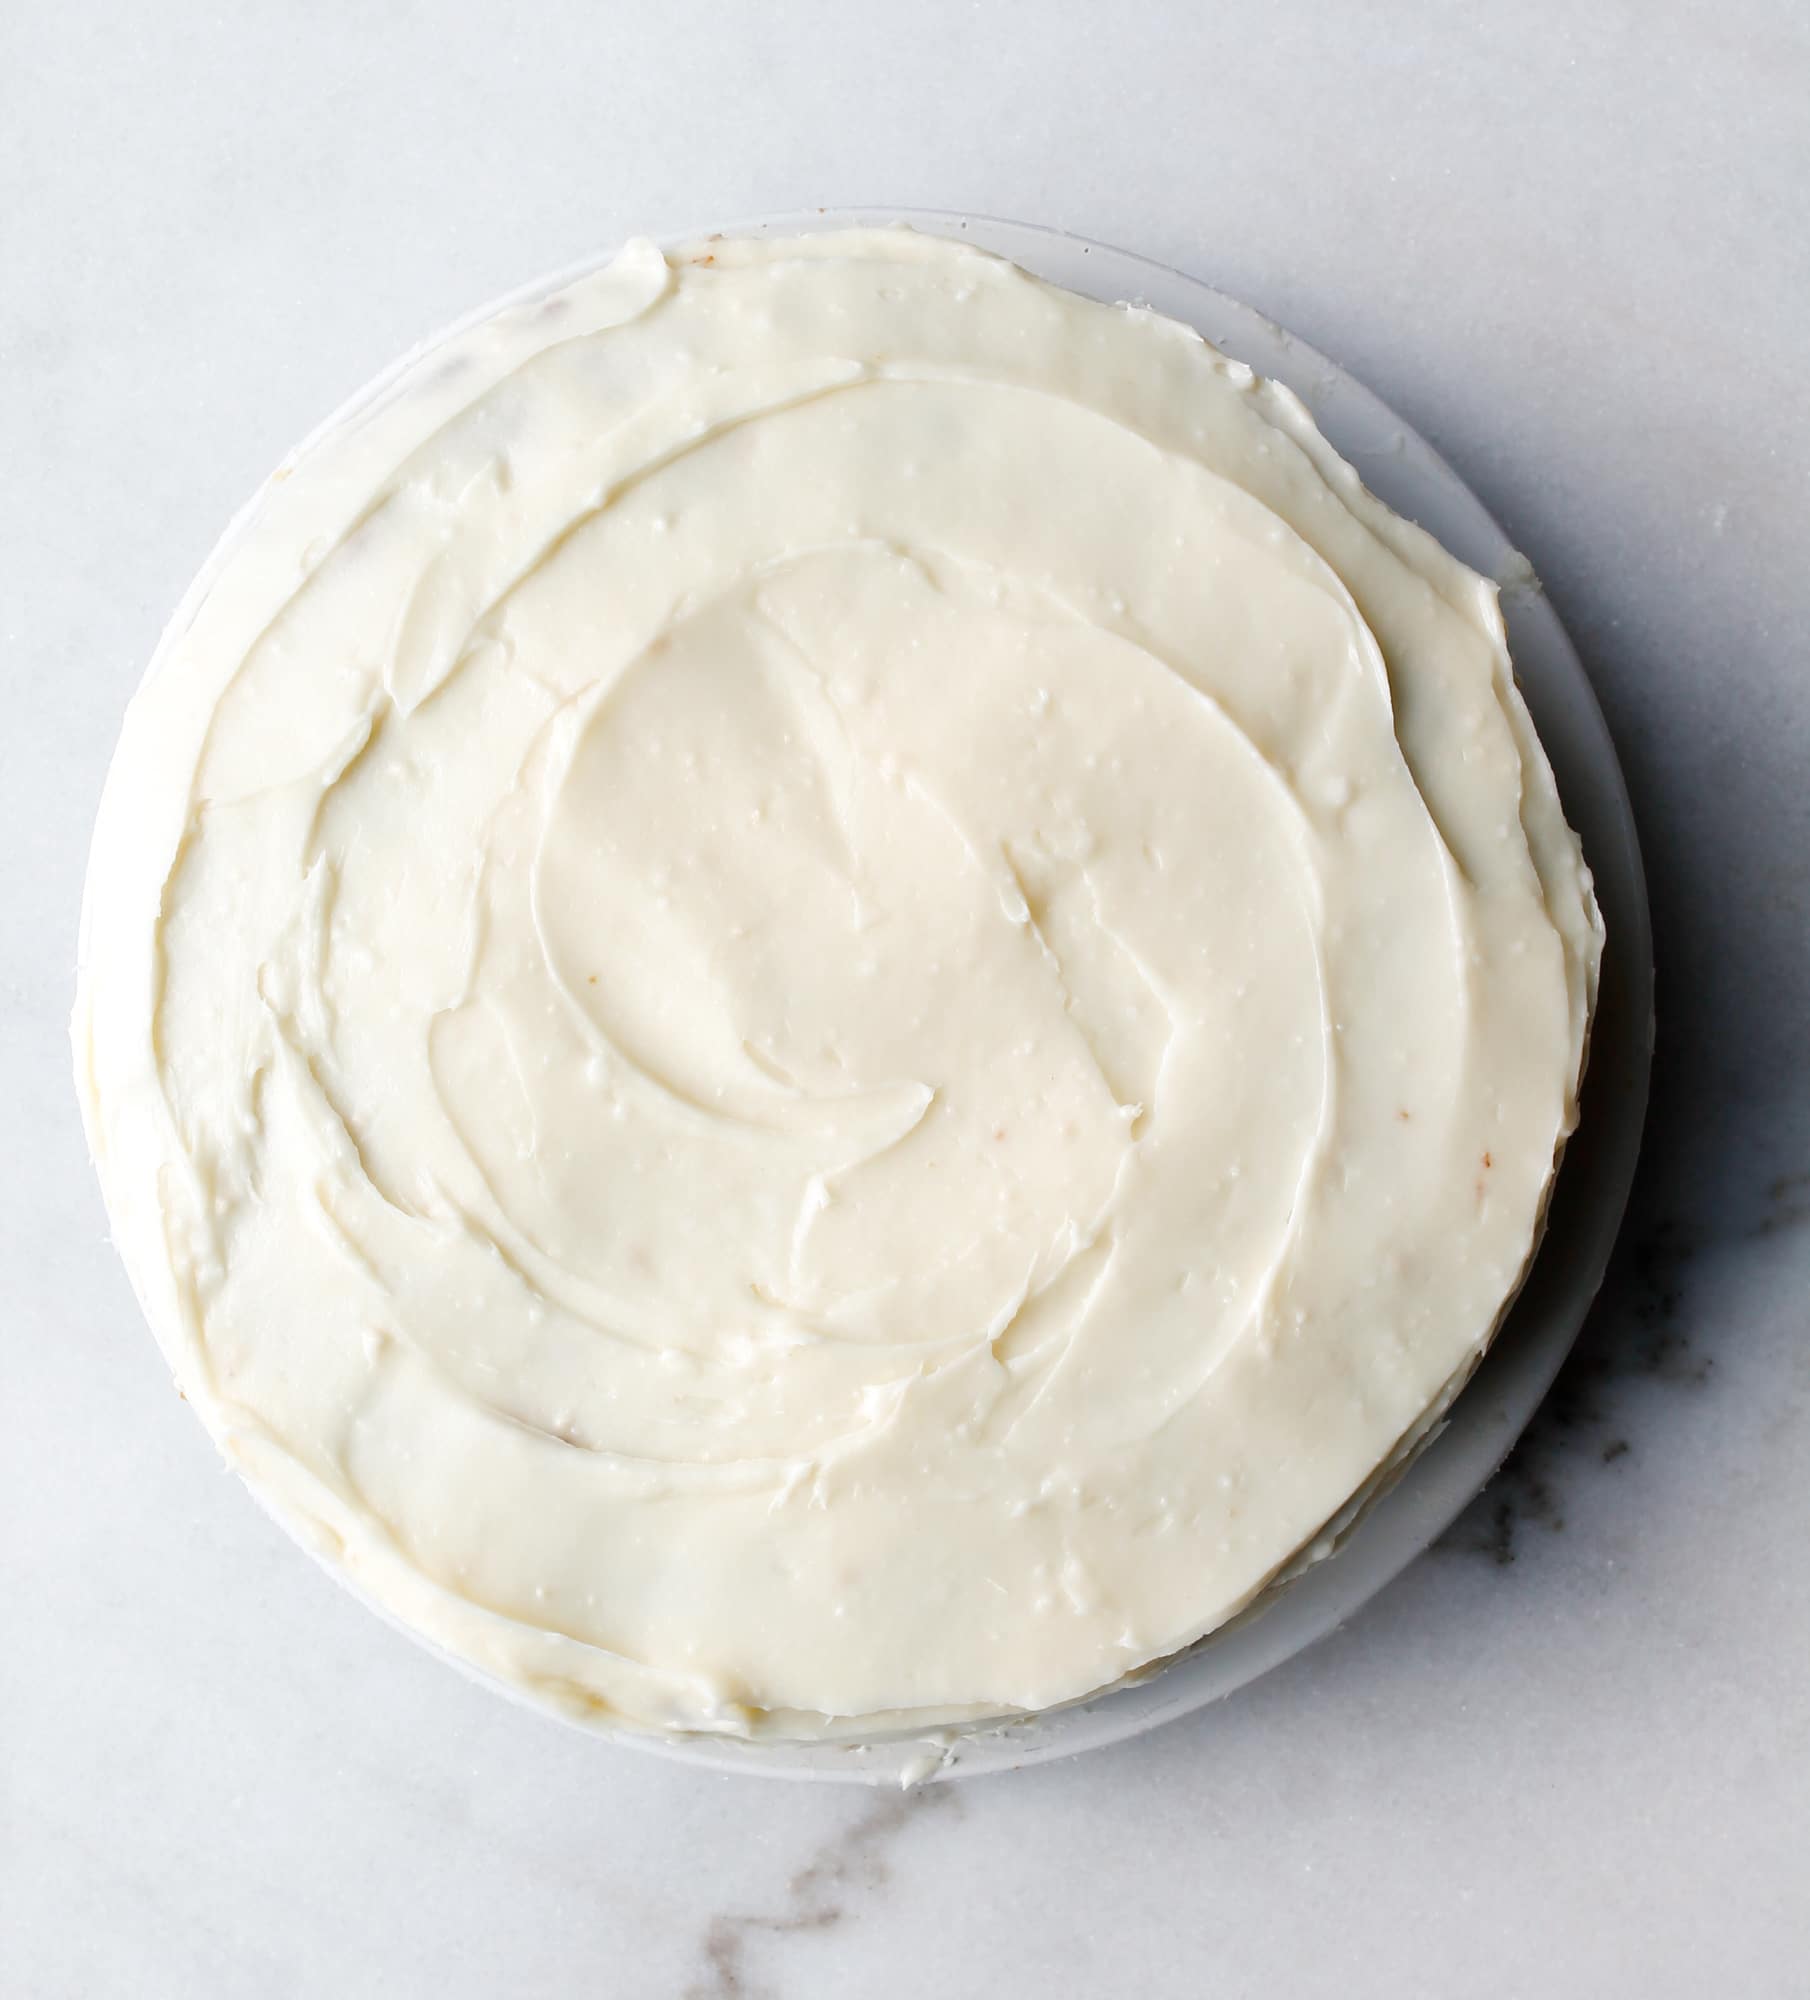
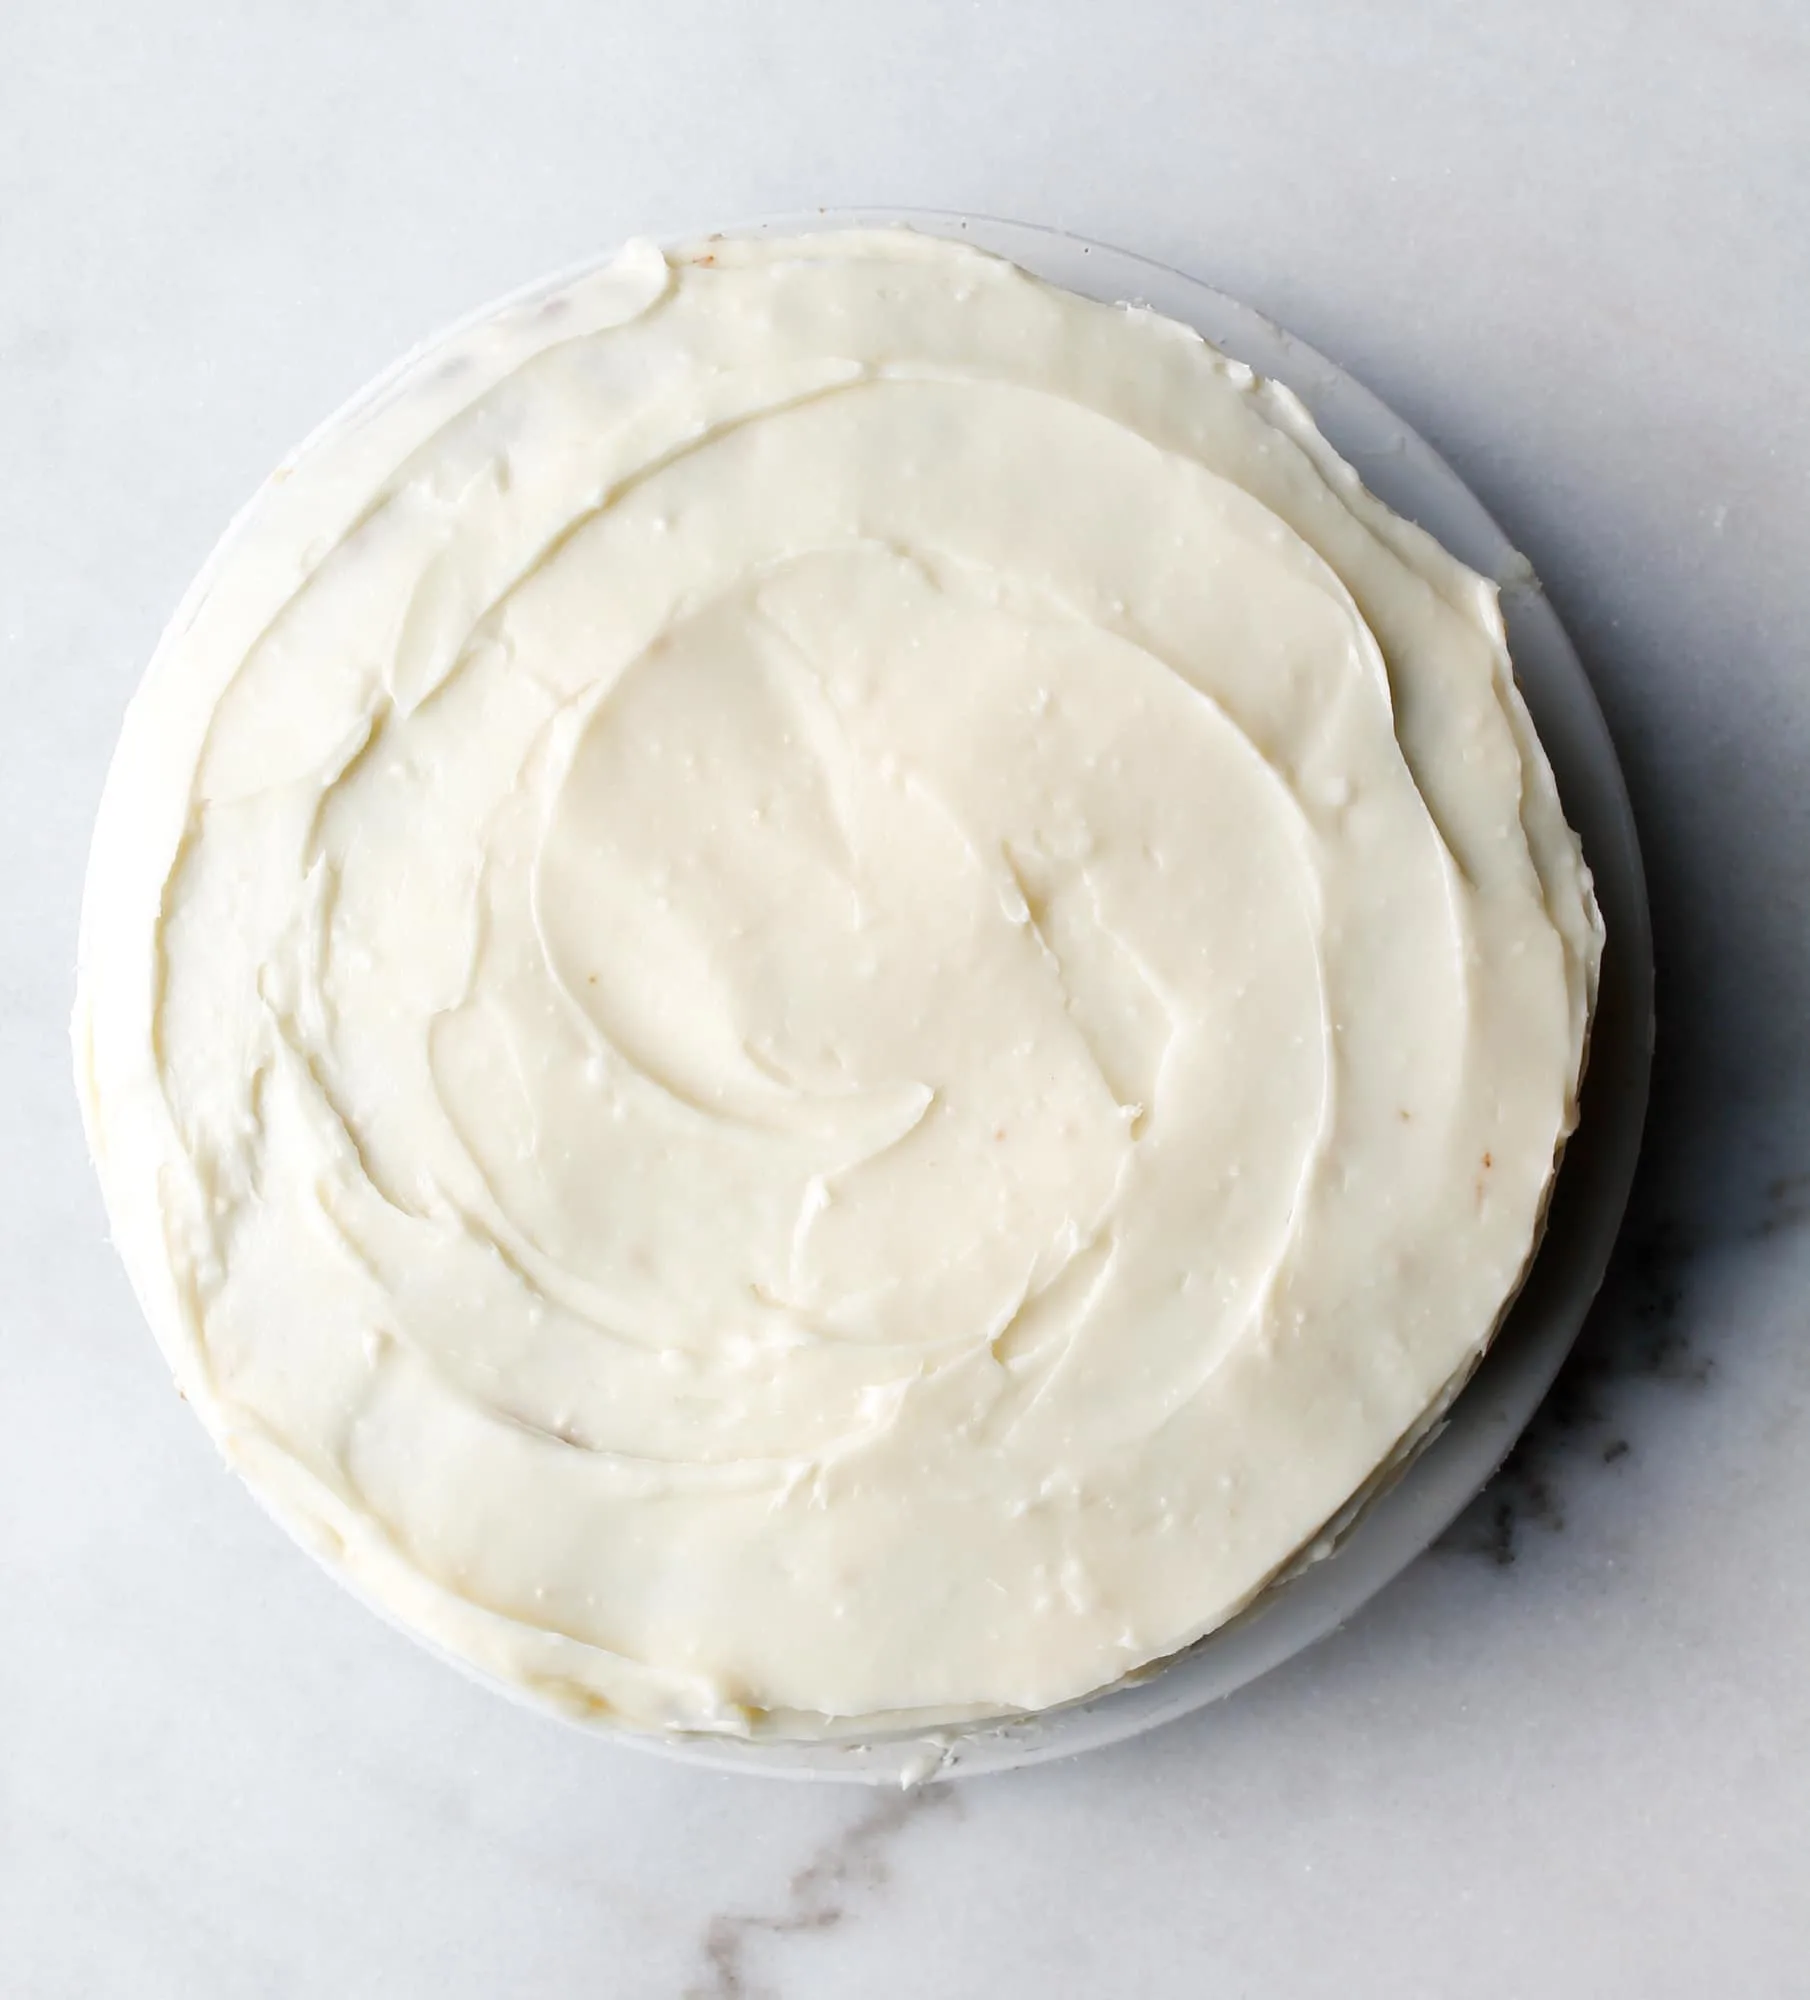
Aunt Karen’s Carrot Cake is the best carrot cake recipe to ever exist. Layers of moist carrot cake are smothered in a sugary glaze then topped with homemade cream cheese frosting.
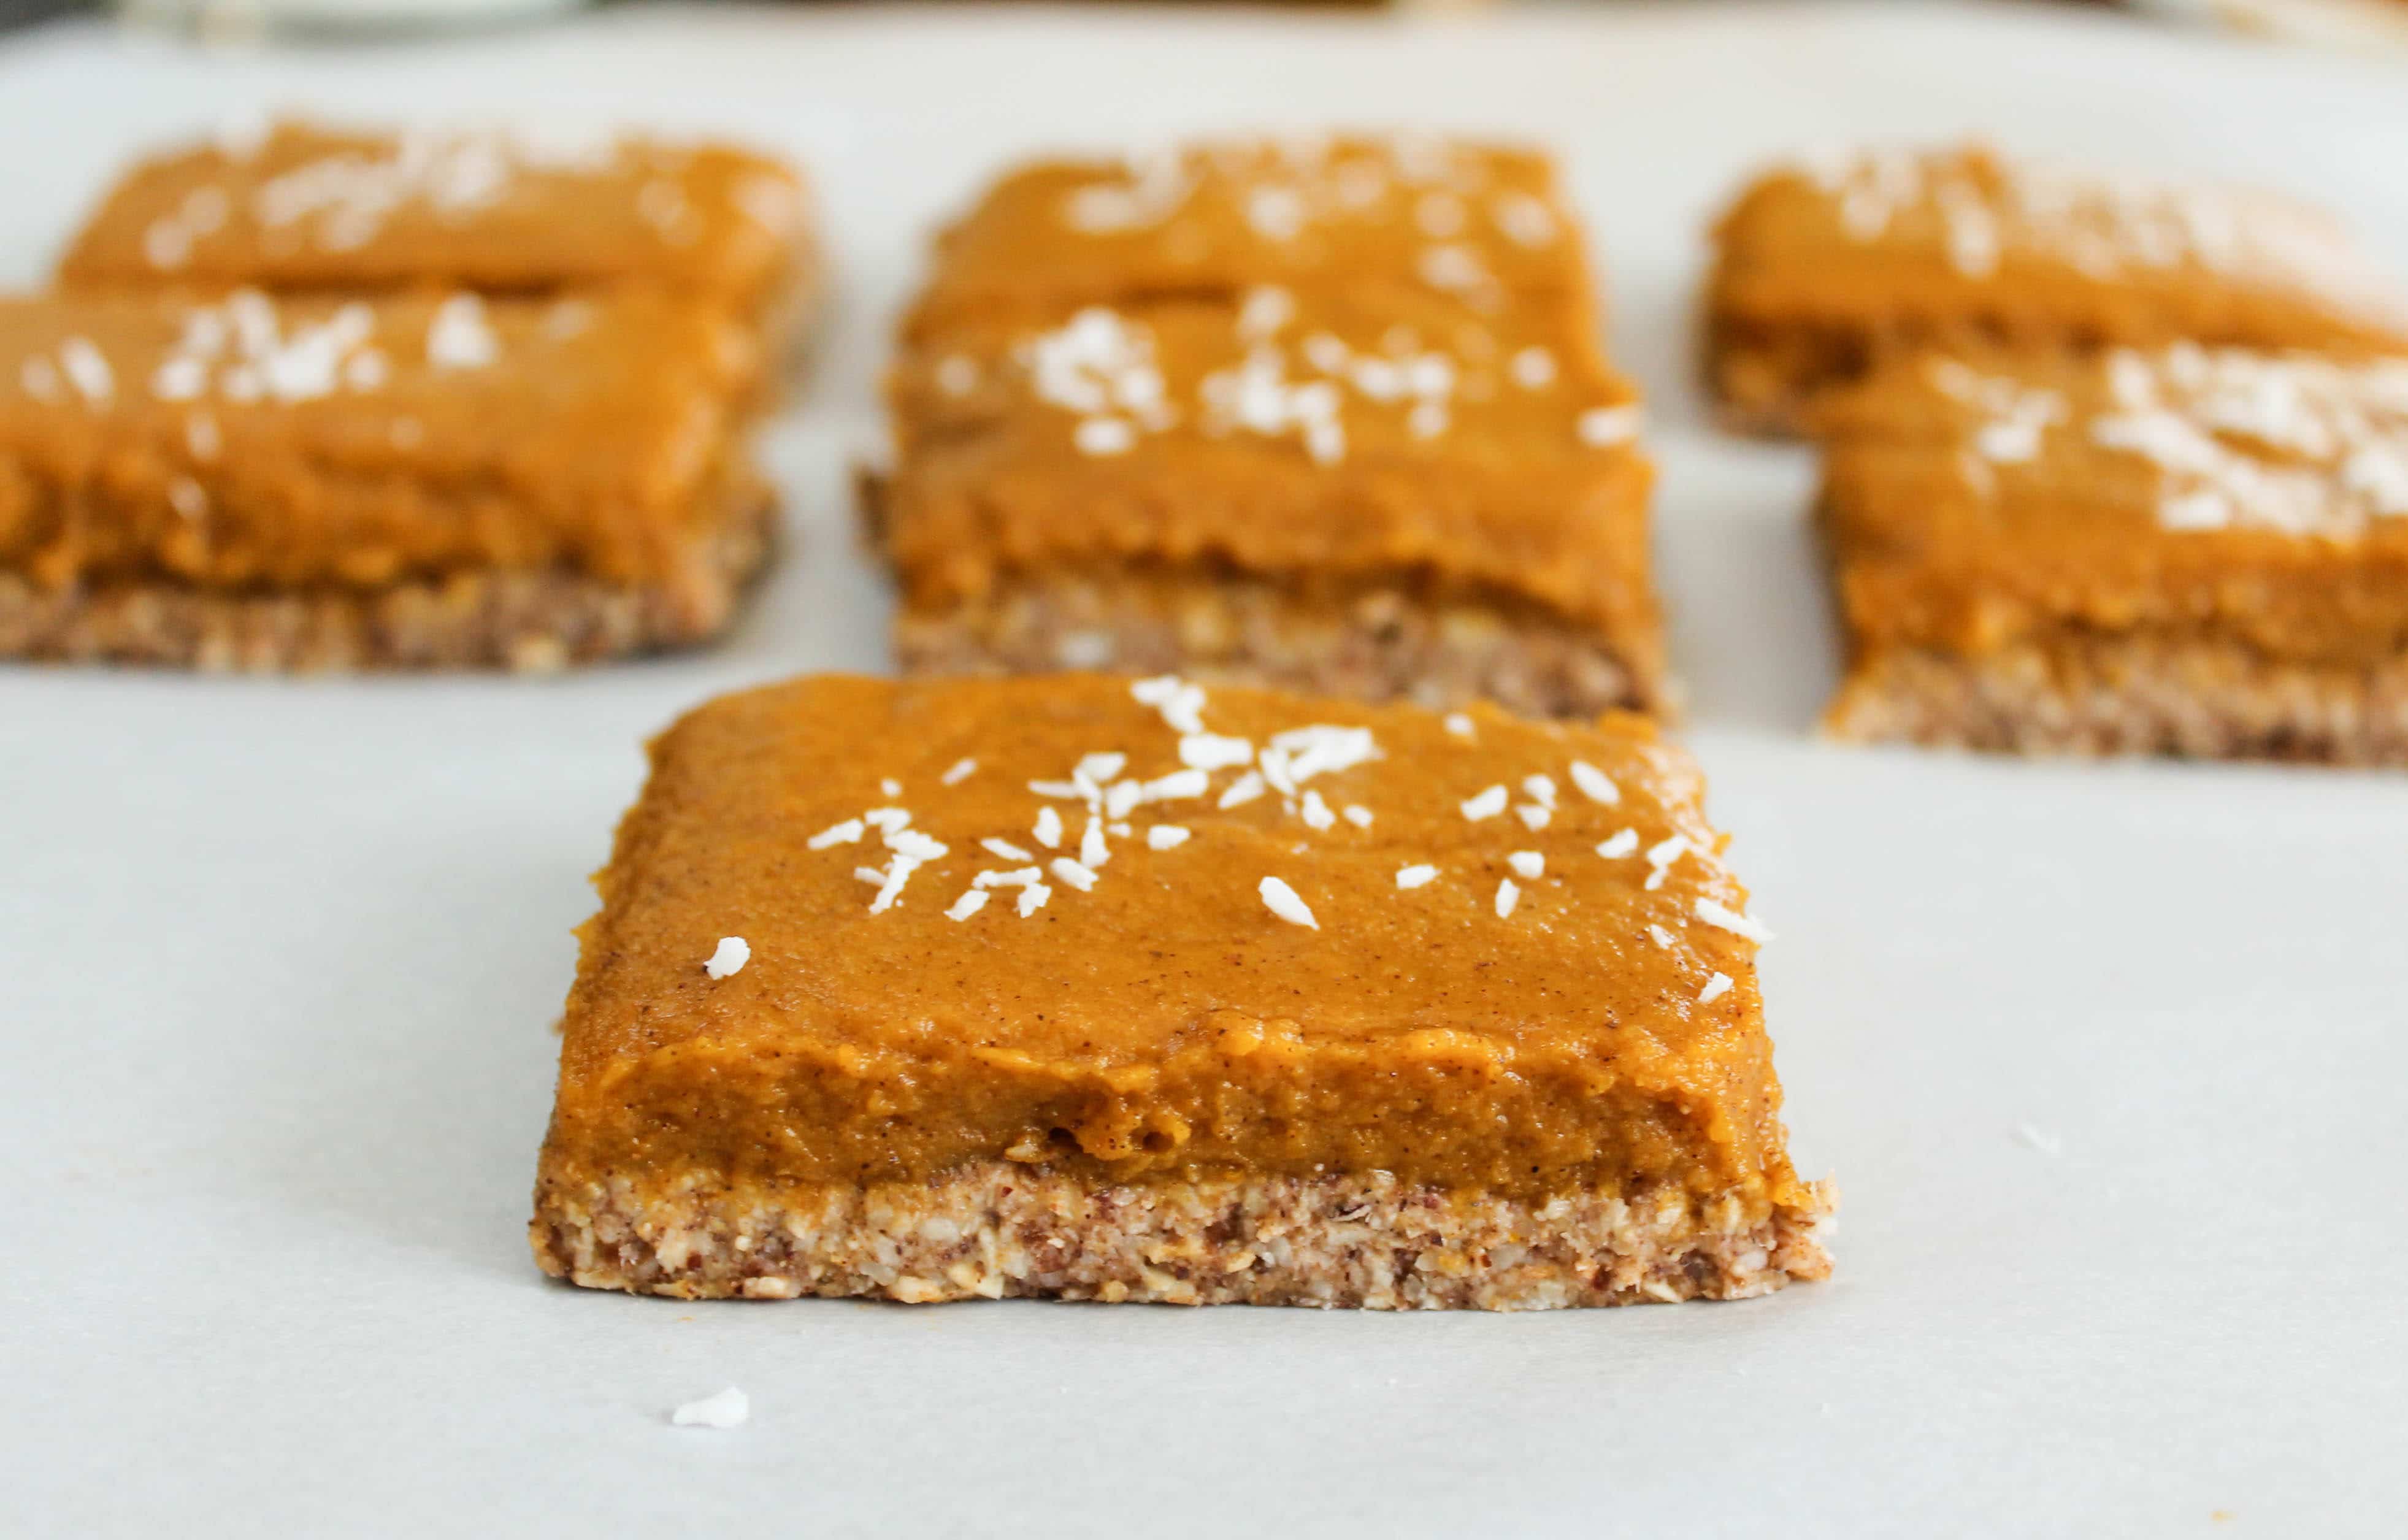

Okay, this is the last pumpkin post of the season … Maybe. They’re just so perfect as a healthy Thanksgiving dessert because A. They can be made the night before and B. They don’t even require any baking! As soon as I saw these vegan, gluten-free pumpkin bars by The Kitchn, I knew I had …
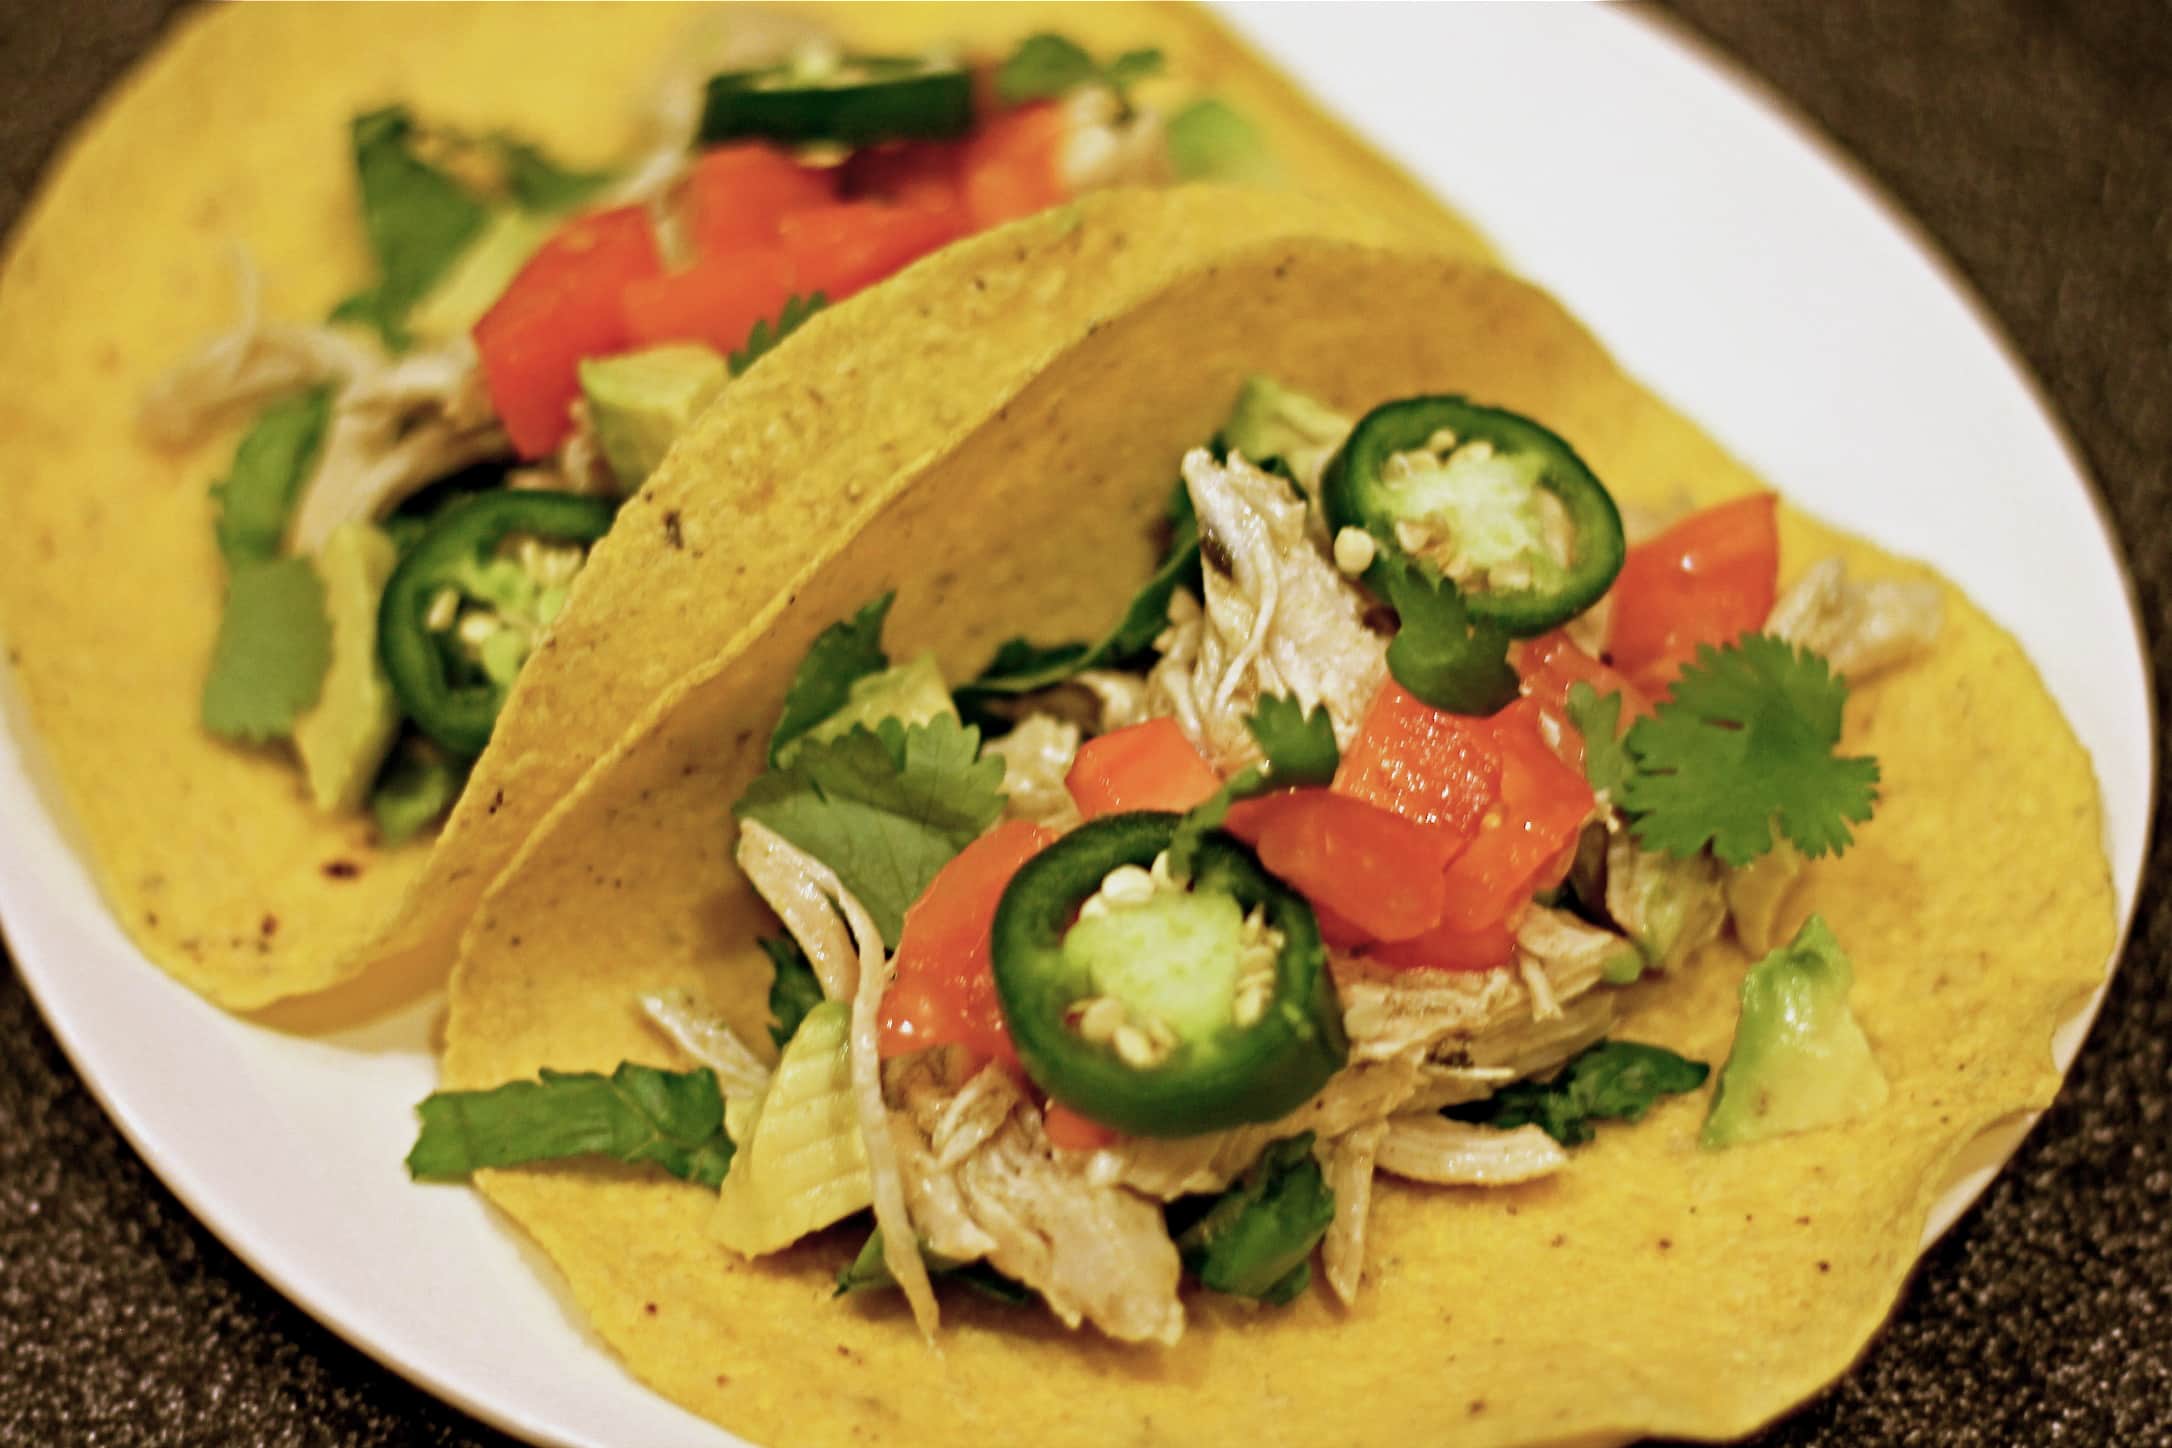

These tacos are drunk, and apparently so was the lighting in my kitchen when I was trying to photograph them. These may not look like much, but if you’re a tacoholic like me, you’ll love them. Plus, they’re made with beer, and beer makes everything better. Amiright? The beauty of one pot recipes is that …

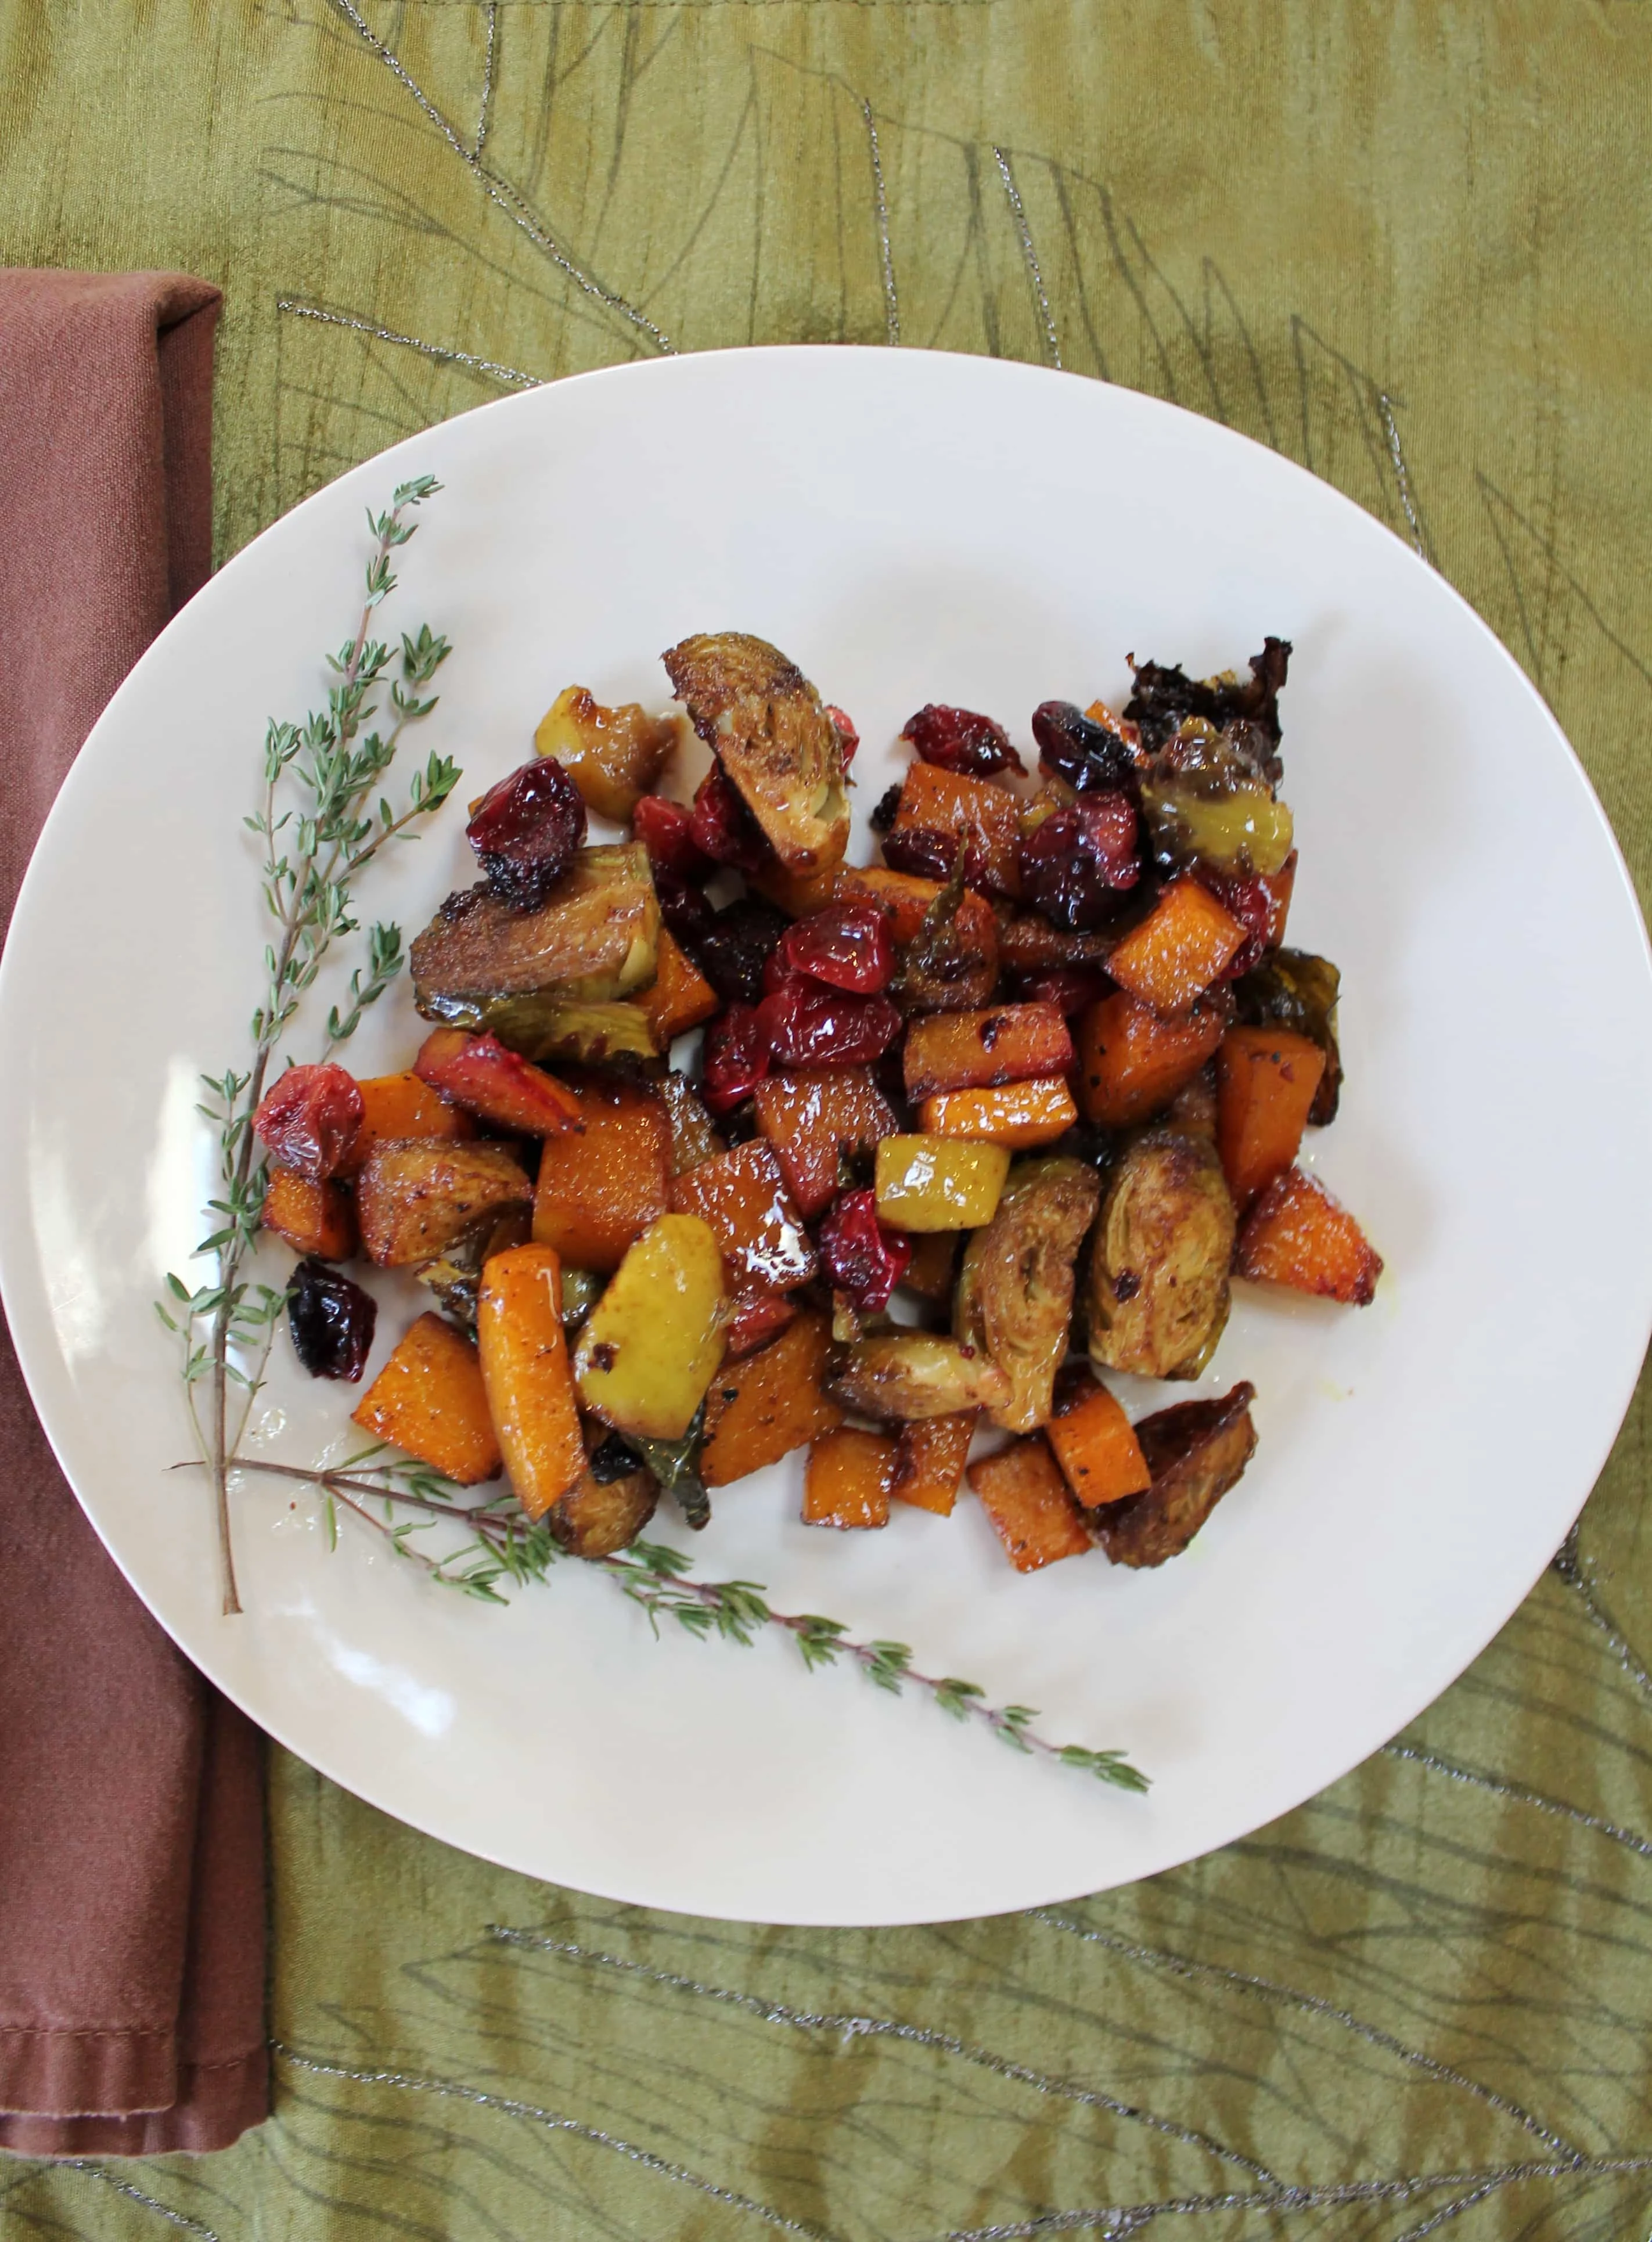
Brussels sprouts are having a moment, and quite frankly, I don’t know why. Although the mini cabbages are one of the healthiest vegetables, they’ve always been one of my least favorite. But in the spirit of fall, I decided to give them another chance in this healthy Thanksgiving side dish. I have since decided that …

I know what you’re thinking … ice cream in November?! All I have to say is YES. We had a warmer weekend here in the midwest, and I took full advantage of the above-freezing temperatures by making this super easy, healthy, 4-ingredient pumpkin pie ice cream. 🙂 I’ve also been gearing up for my family’s …

I’m one of those weird people who actually enjoys my job, and one of the most interesting elements to me is analyzing food trends. Each week we scour social media and other food sites to see what’s trending in the world of noms, and salted caramel came up on the list last week. Salted caramel …
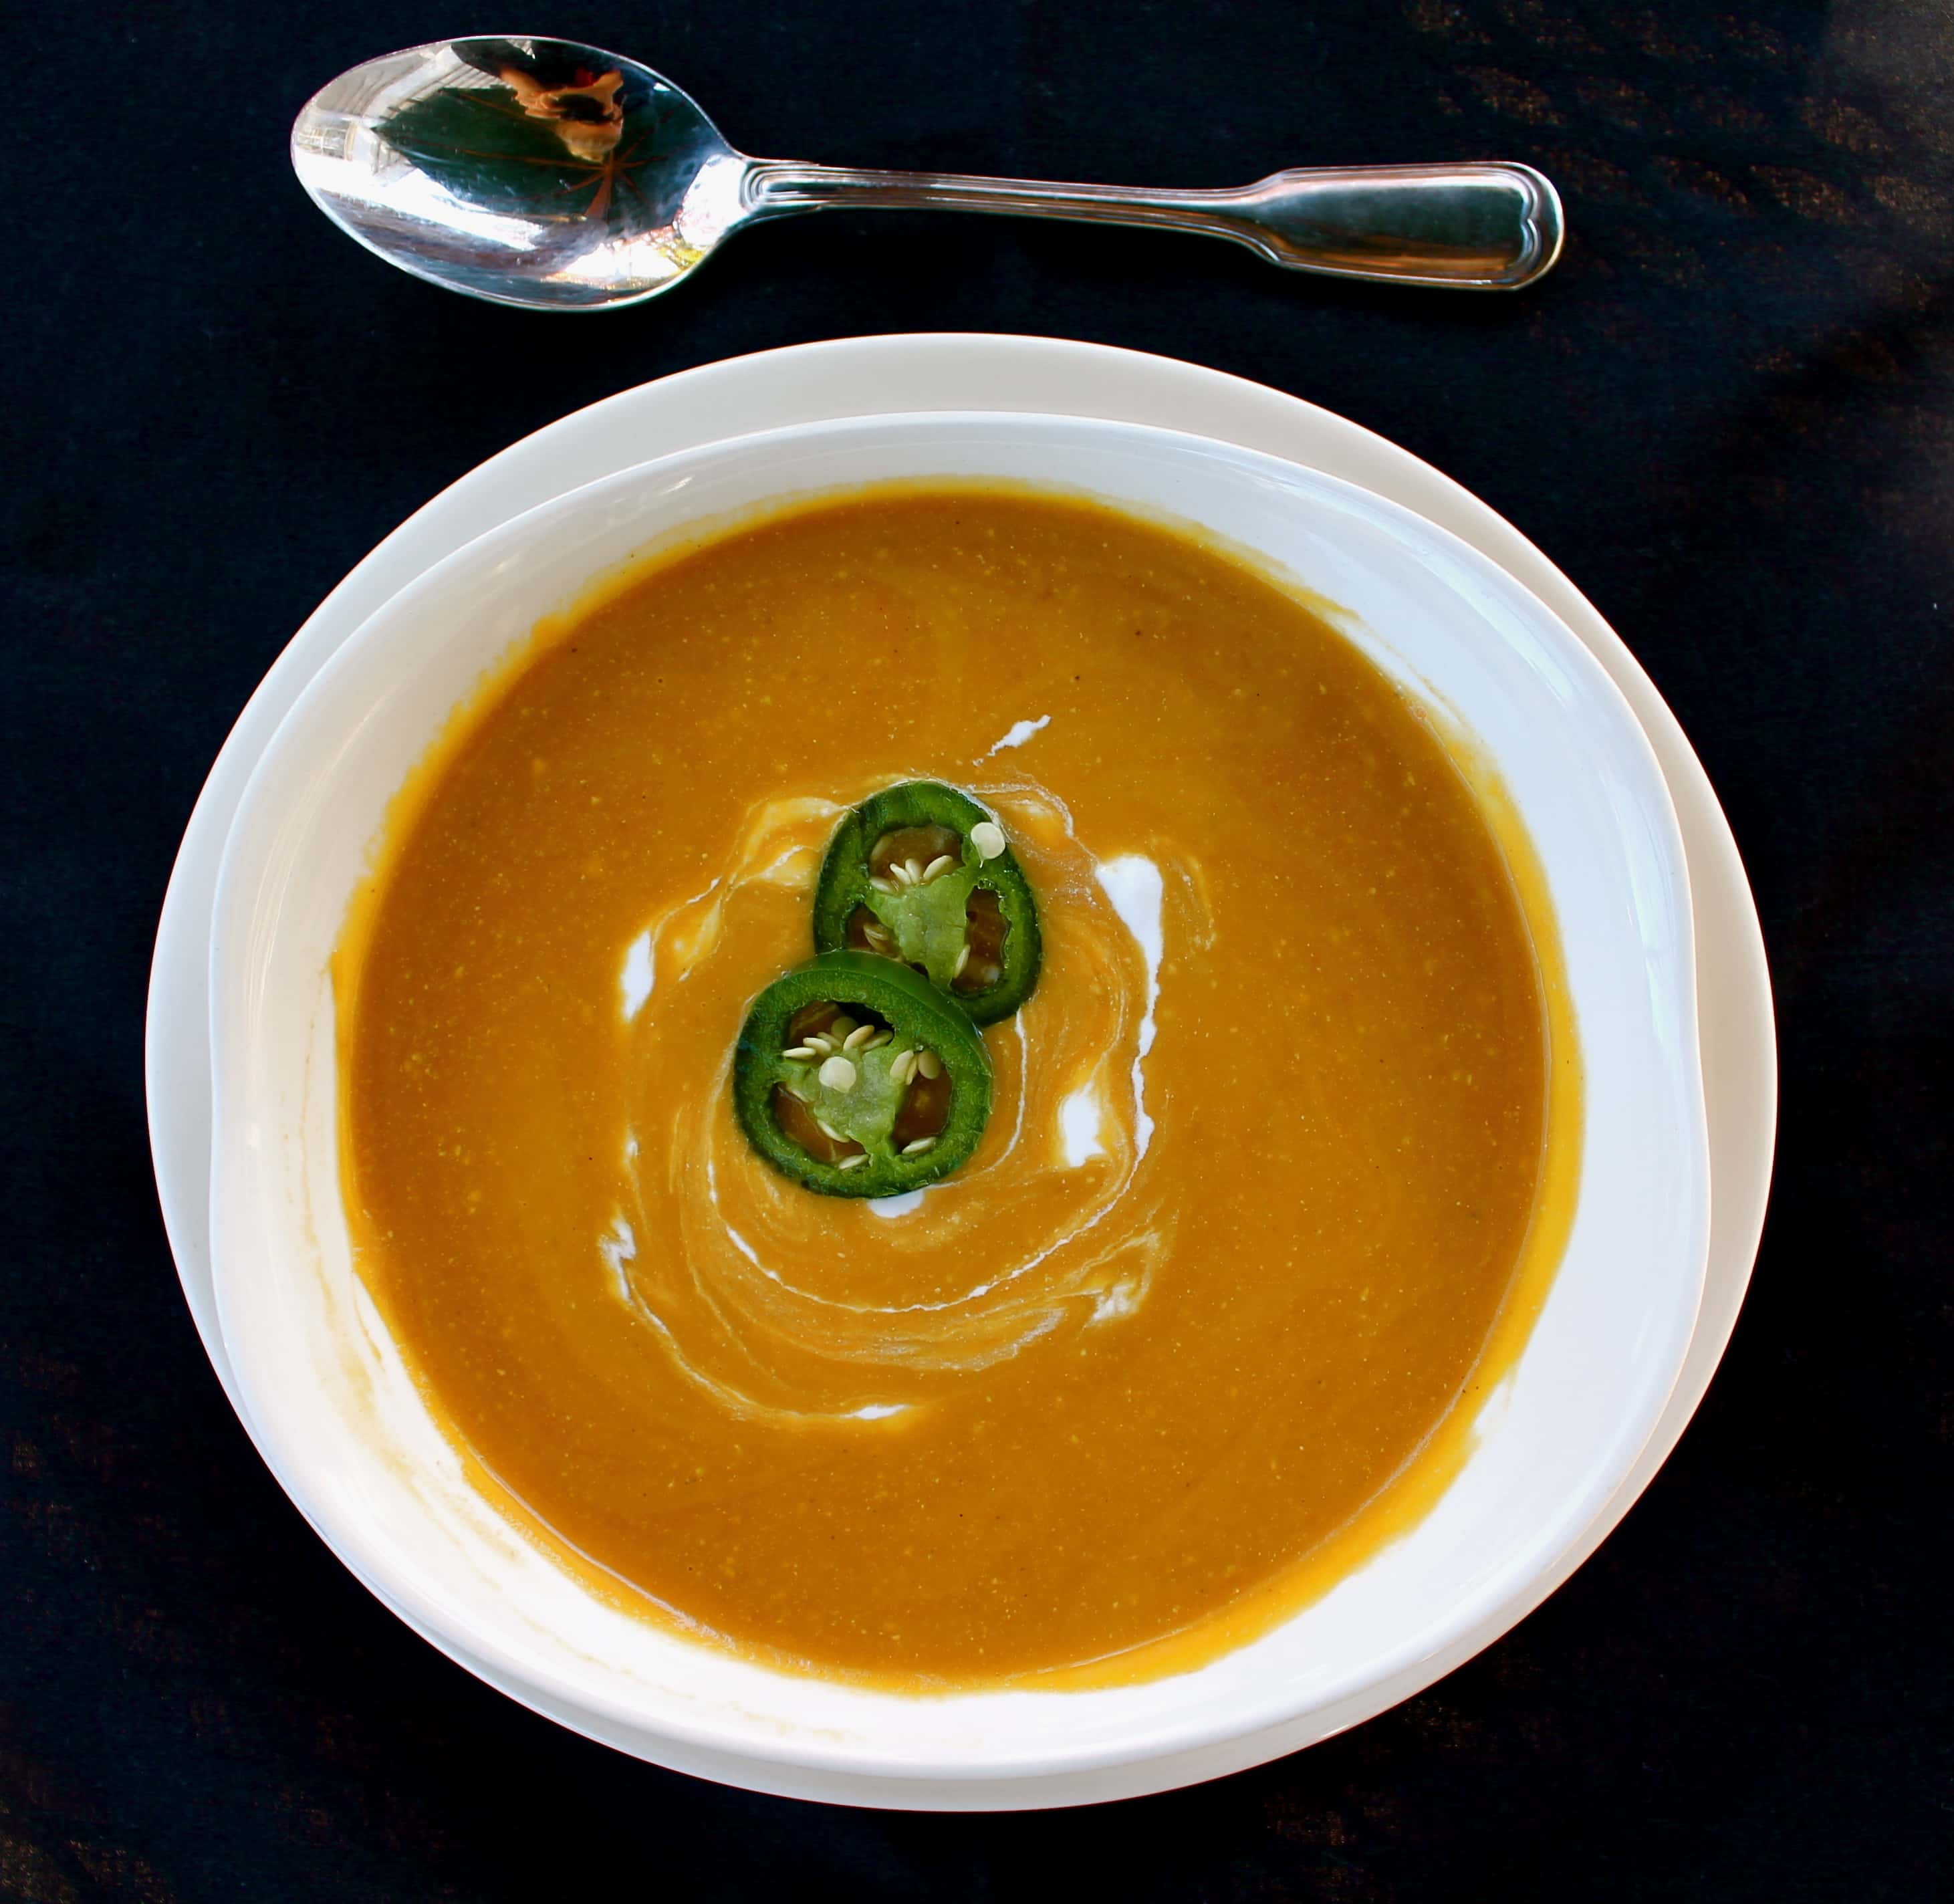

When life hands me pounds of butternut squash, I make soup. And I put jalapenos in it. I froze all the jalapenos from our container garden this summer and have been looking for healthy ways to use them. Since they lose their crunch after being frozen, I figured blending them into soup was the perfect …
Don’t judge this hot sauce by its extra “r” – although it’s pronounced “SIR-rotch-ah,” it’s also been called “delicious.” By me. It’s a hot chile sauce that adds heat to any dish, but tastes better than Frank’s or pretty much any others. Now, of course if I’m making Mexican food, Cholula has my heart. But anything Asian gets …
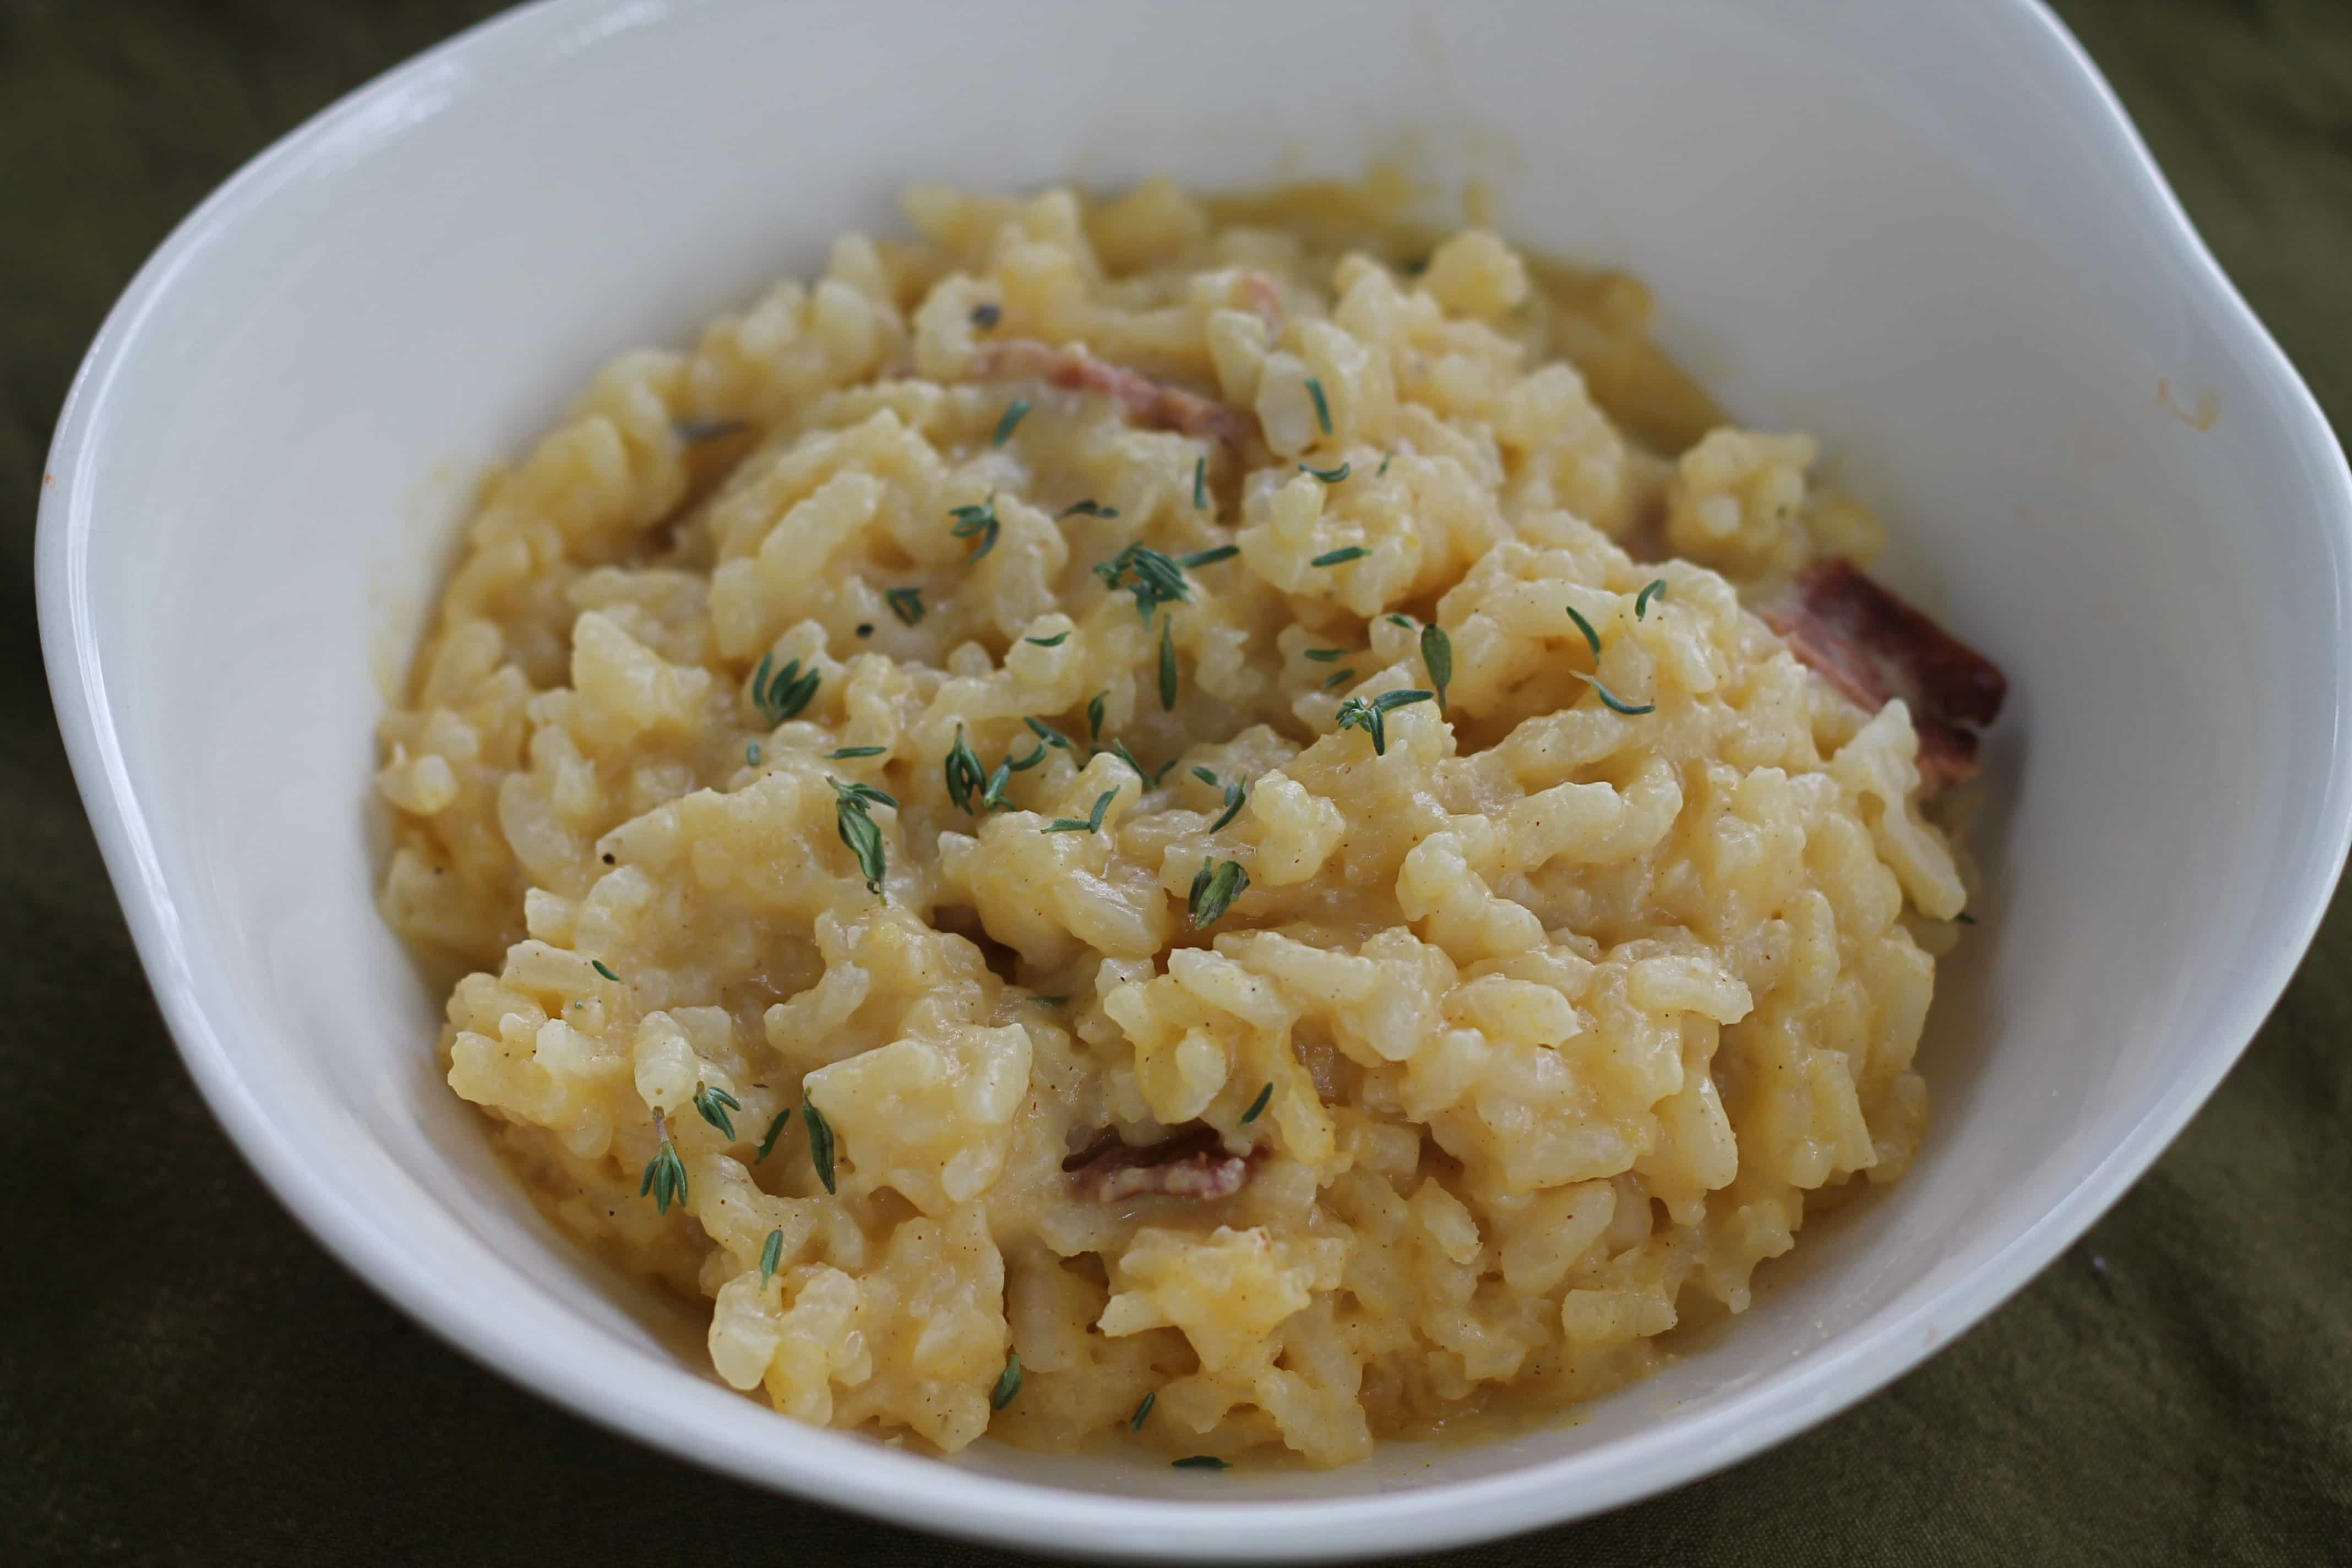

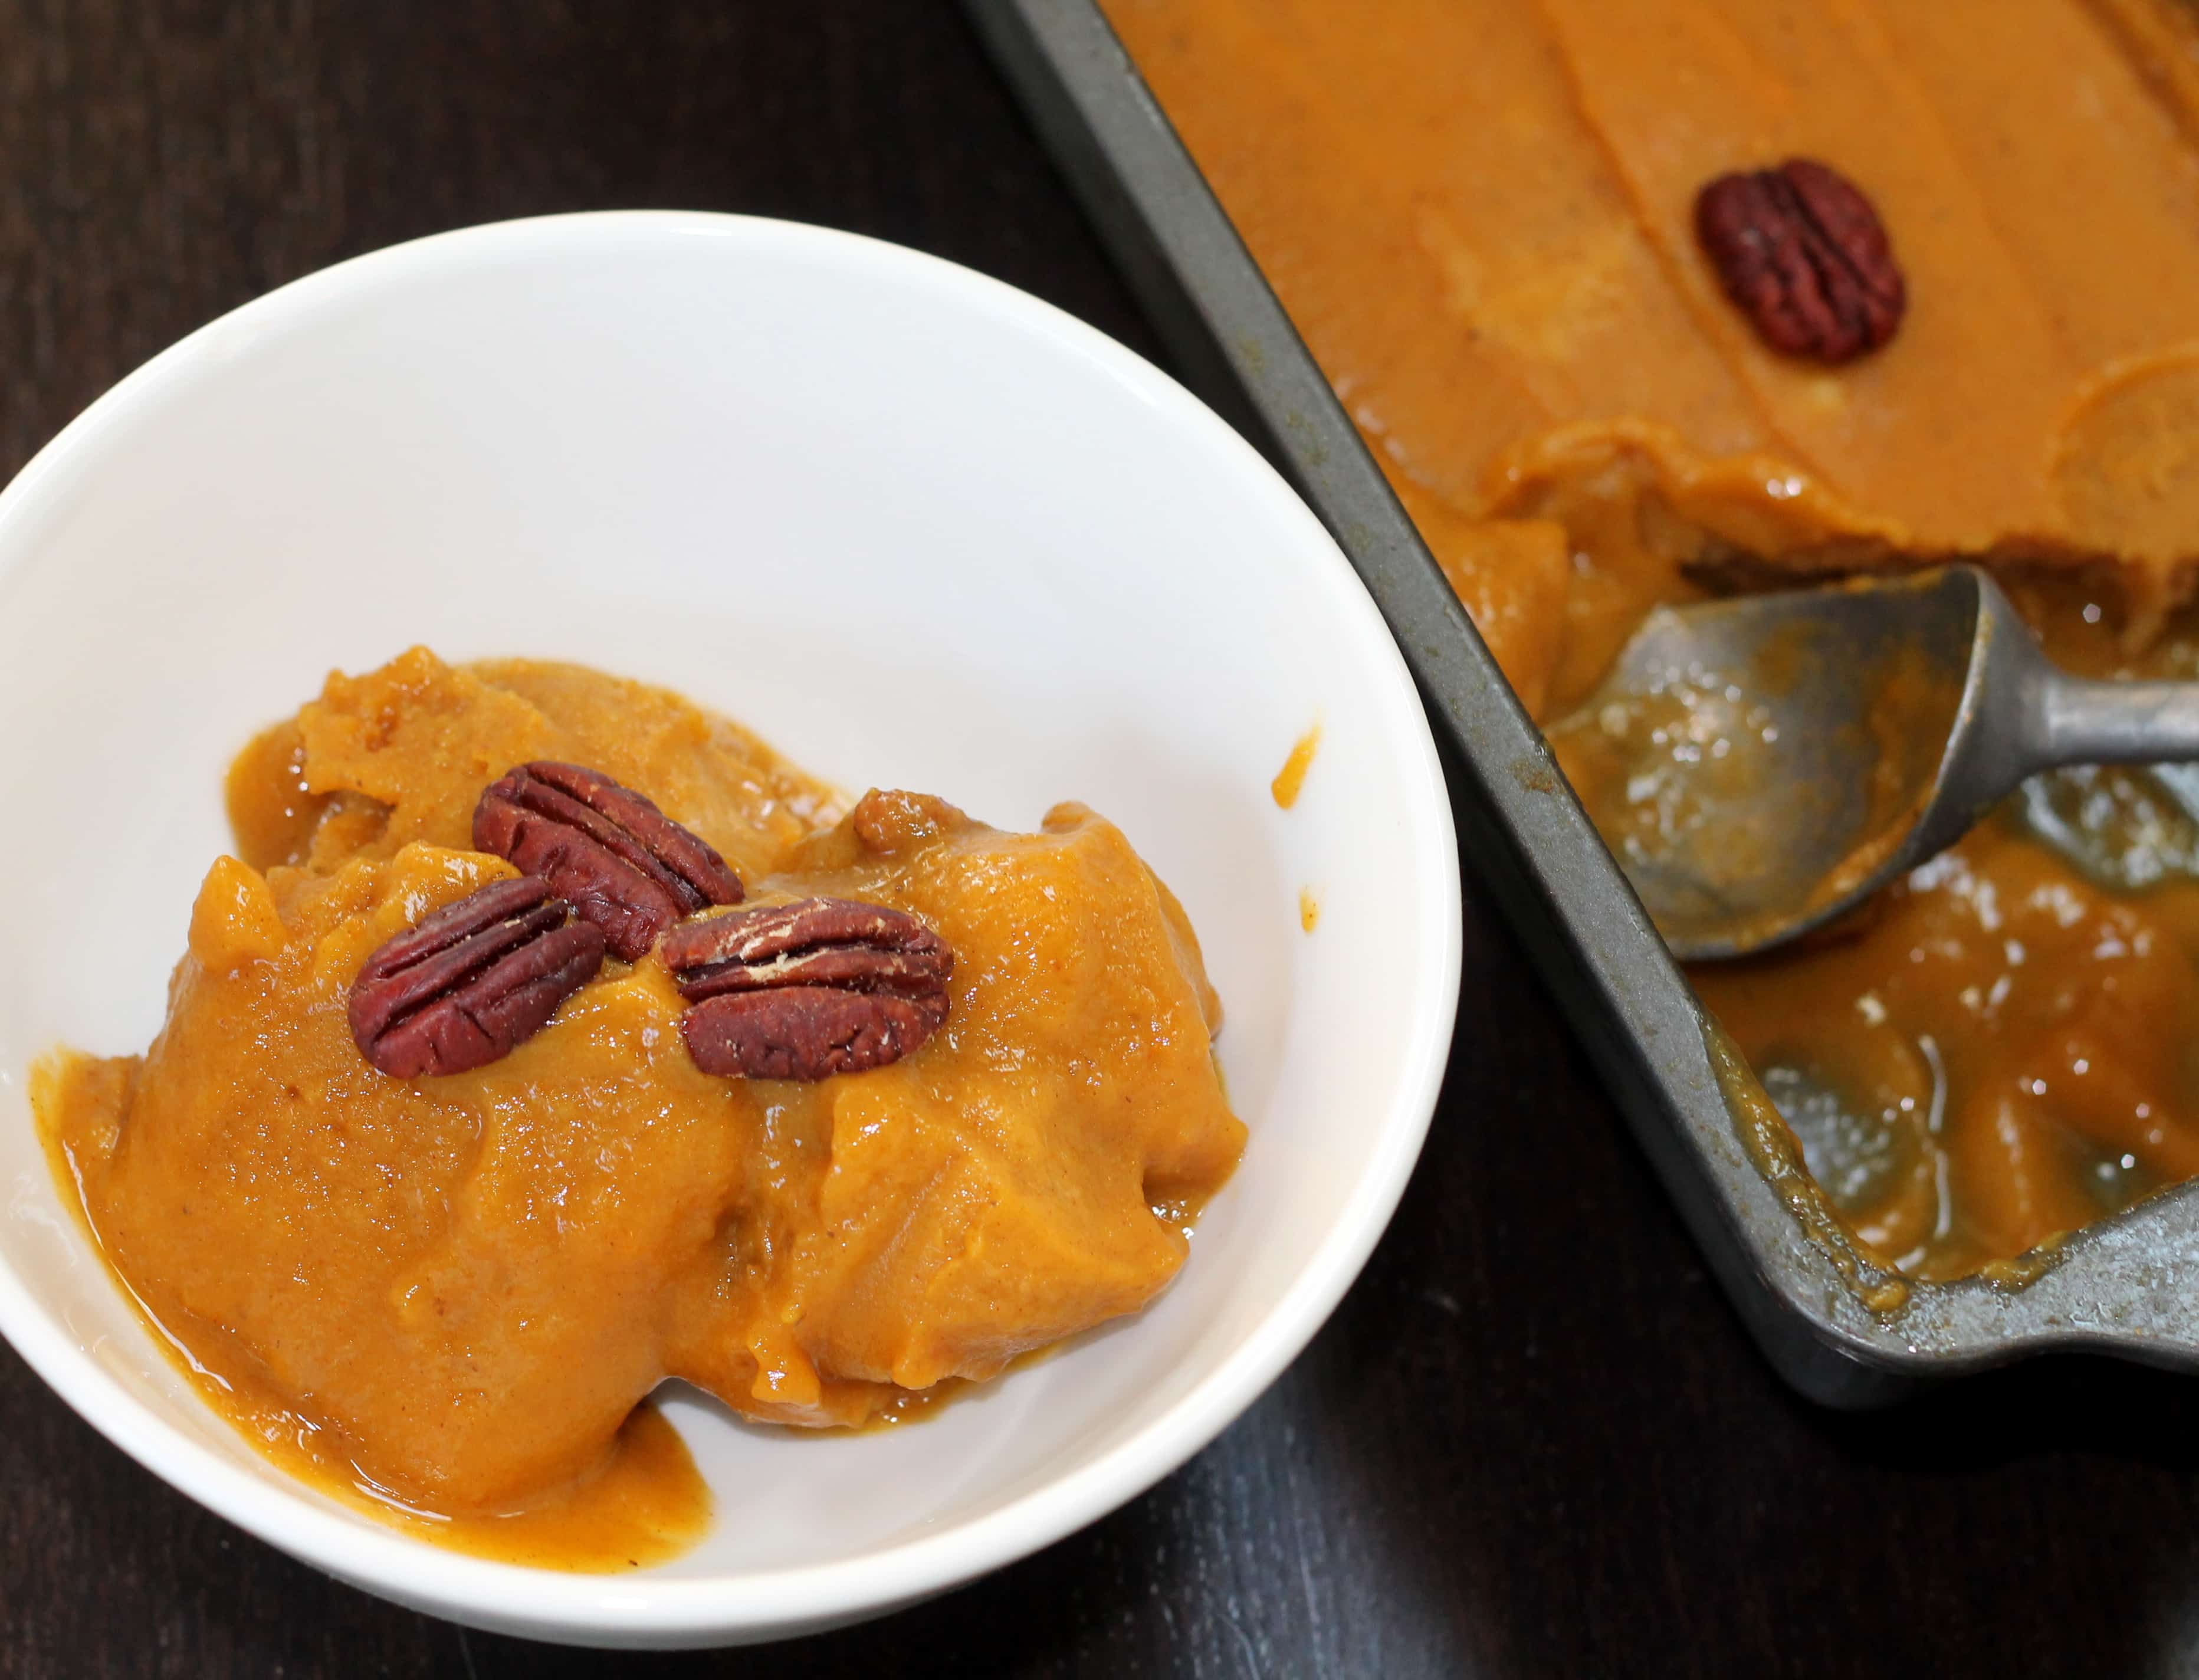
Okay, so nothing about this recipe is healthy. But after the epic risotto fail last month, I had to try to redeem myself with a risotto that’s creamy and delicious, even if that means a few handfuls of cheese and some heavy cream. Hey, not one person who tried it complained. THIS Creamy Pumpkin Risotto …
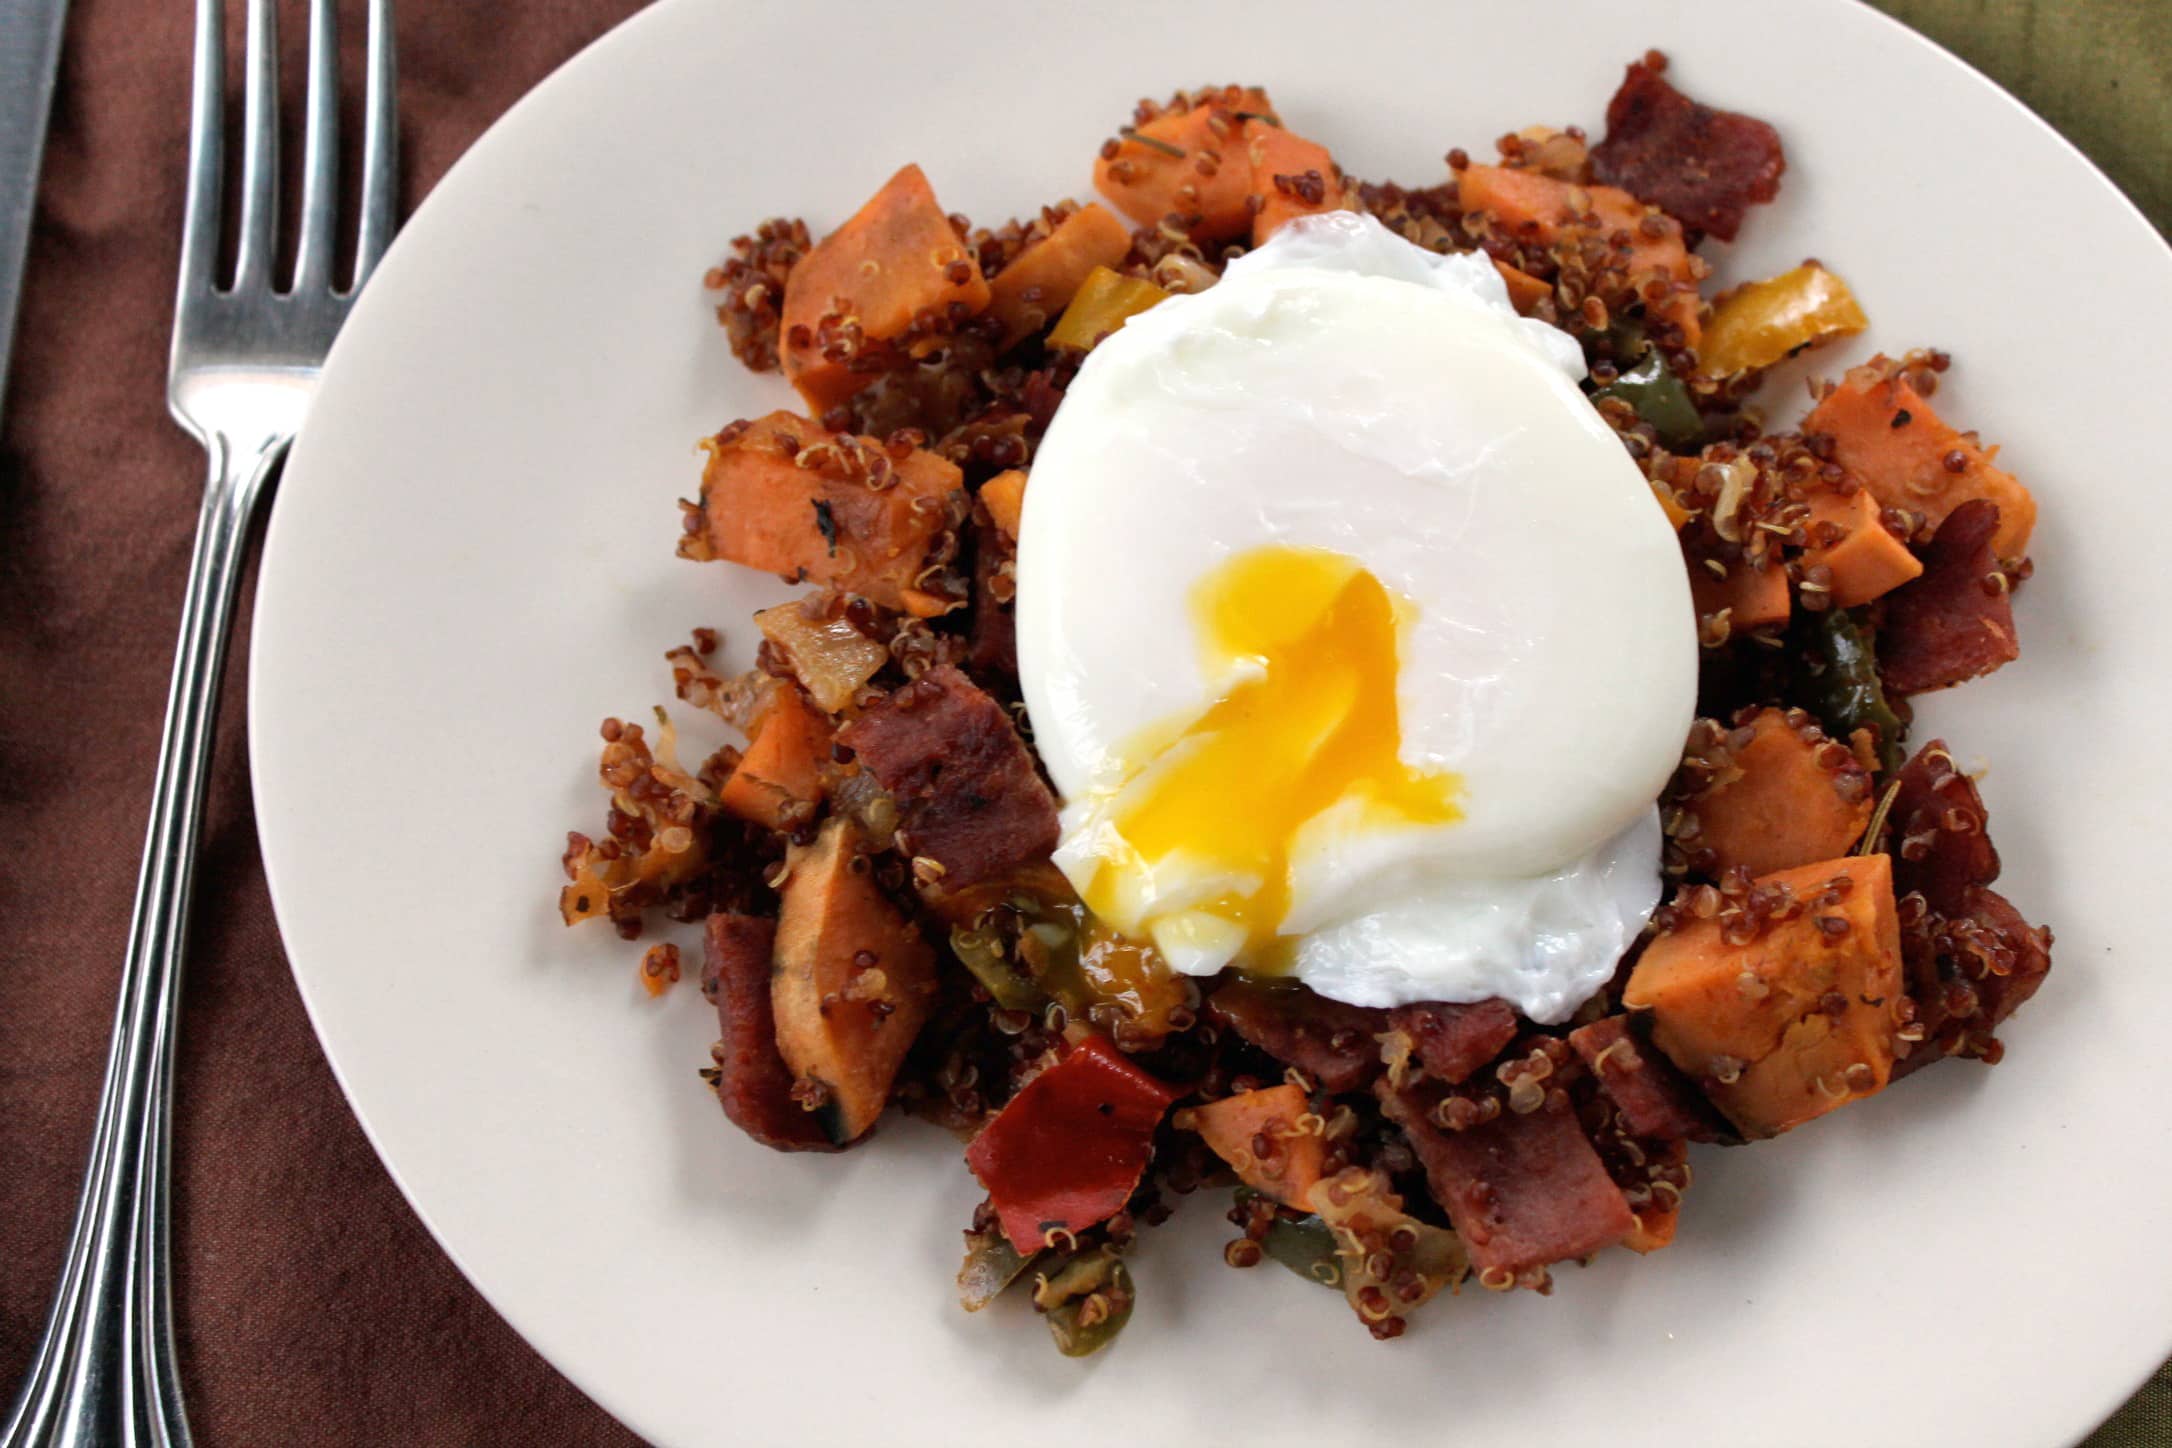
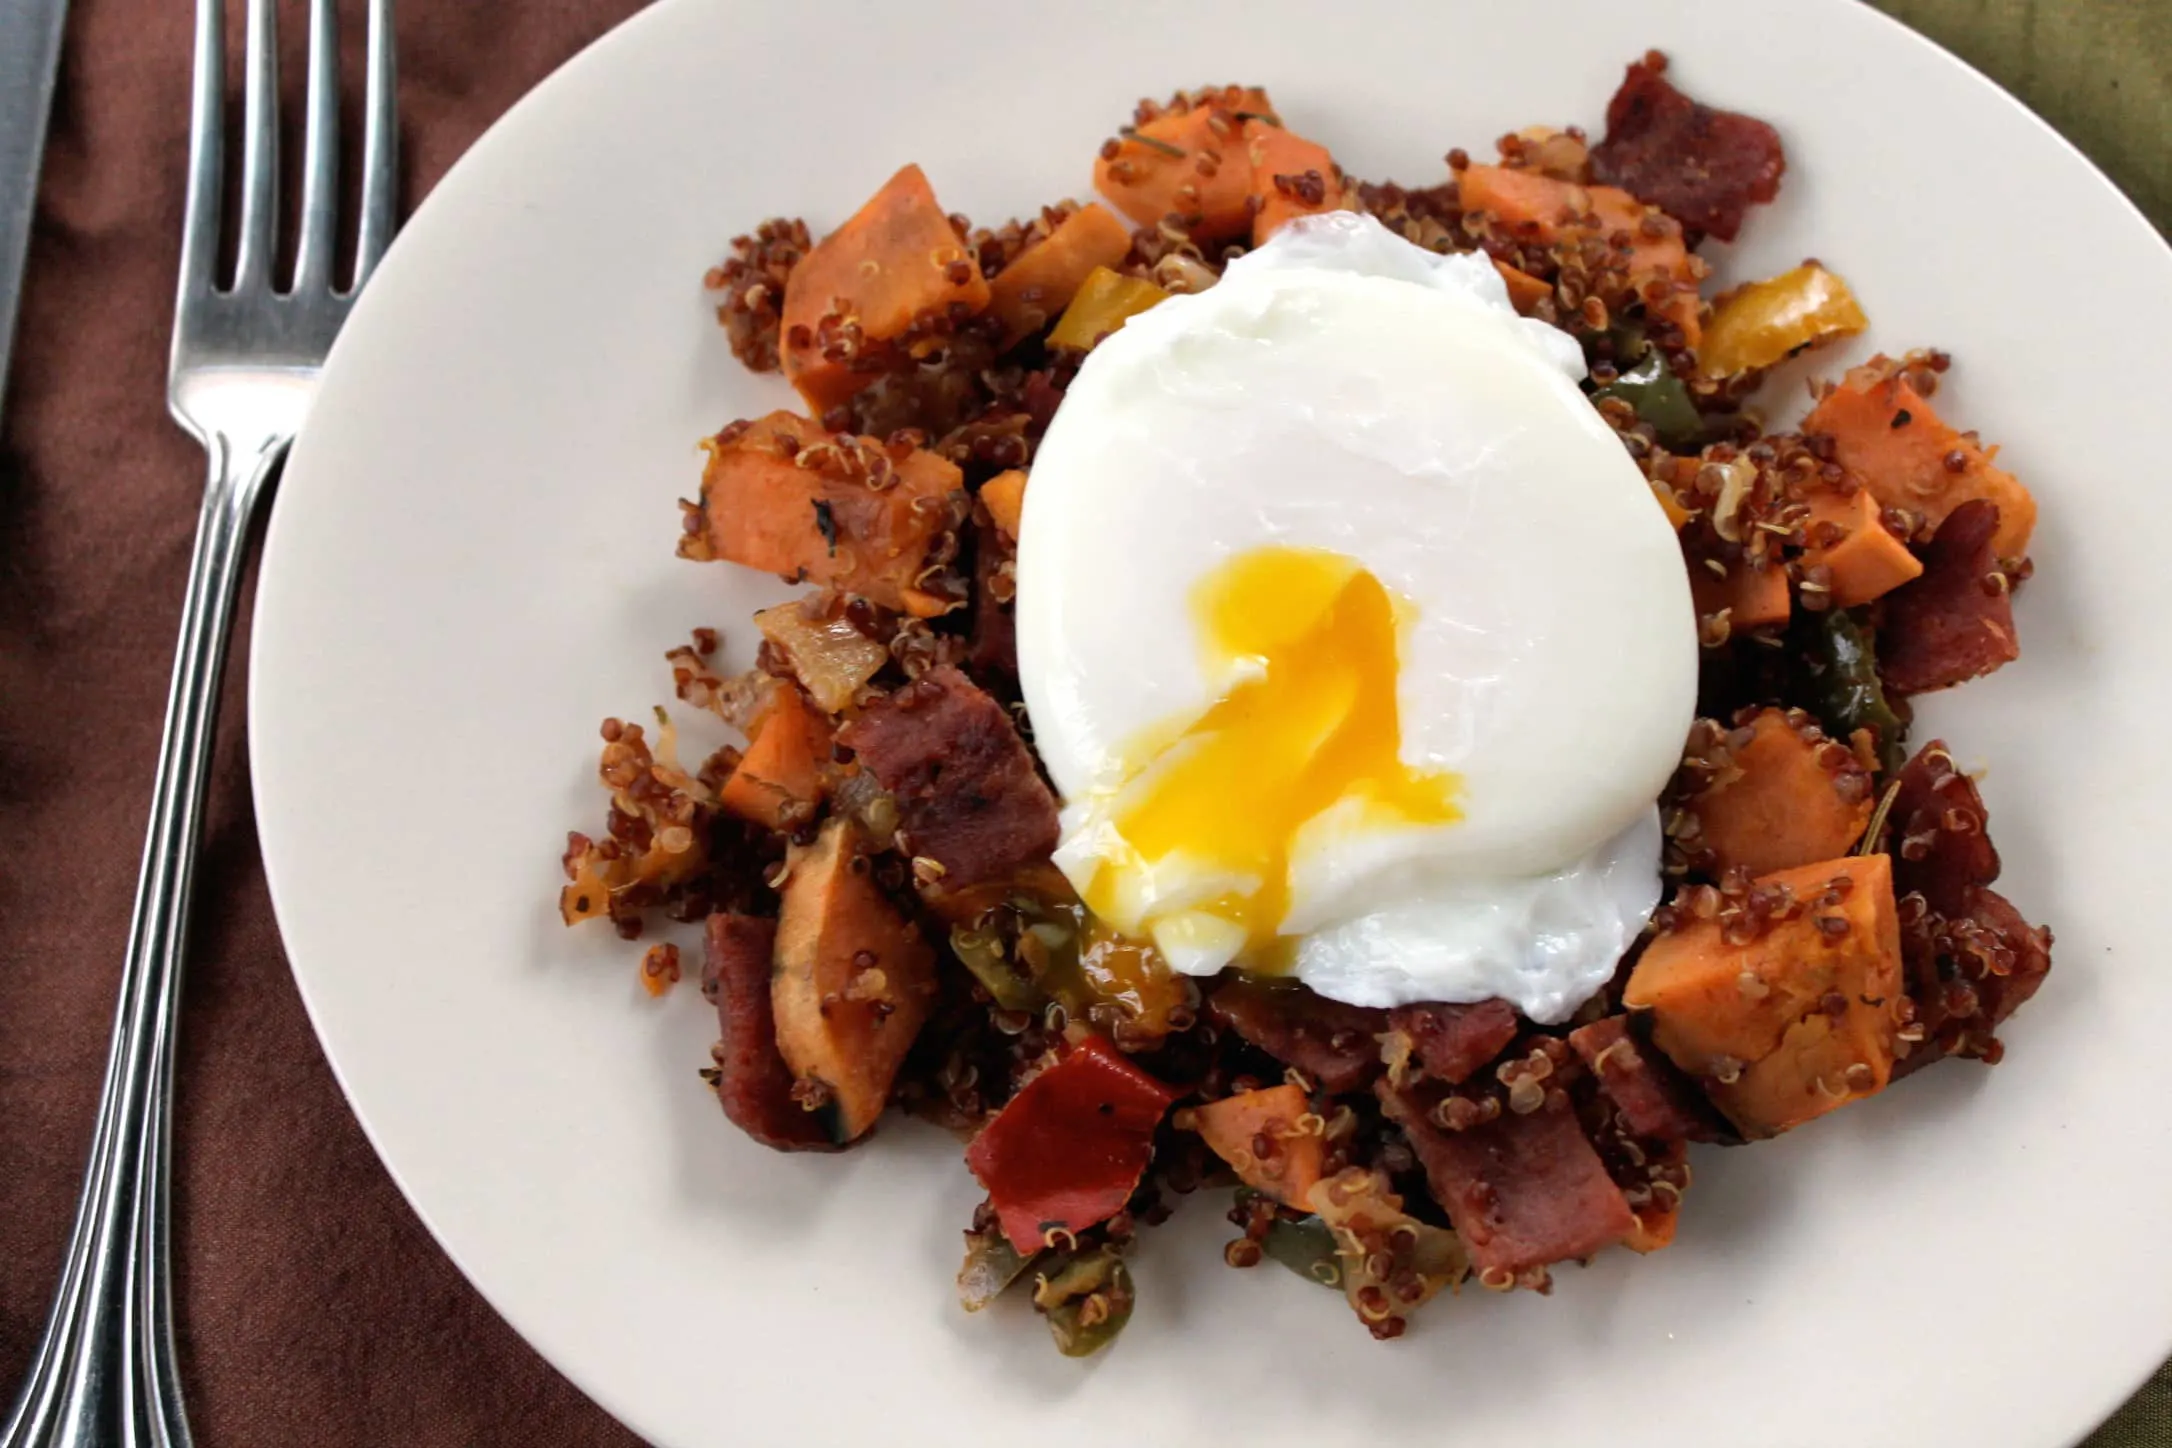
This may be one of my favorite creations yet. One of my favorite things in the world is a breakfast skillet. You know, the ones with potatoes and cheese and vegetables and more cheese and eggs?? Best. Hangover. Food. Ever. Well, just best food in general. I am proud to say that I’ve successfully created …