
If you’re new to the blogging world and feeling overwhelmed, start here! I’ve put together my top tips for how to start a food blog, including logistics of getting started, food photography tips and tools, how to monetize a food blog, and more!


How I Got My Start as a Food Blogger:
I entered college barely able to make a grilled cheese, and became super into teaching myself how to cook. I would spend hours scouring Pinterest for new healthy recipes to try, and cooking became one of my best stress relievers. It still is!
When I got a summer internship at Men’s Health Magazine, I spent a summer learning more and more about nutrition and became obsessed with reading about the latest health trends. After college, I got a job as an editor at a recipes website where a huge part of my job was blogger relations (basically, I looked at people’s pretty food blogs all day).
The only issue was that as a recent journalism graduate who once dreamed of being Carrie Bradshaw, I wasn’t doing what I truly loved and believed I am gifted in: writing!
So, I combined my two favorite things (writing and cooking healthy recipes) into a blog that would also look great on my resume. Win, win!
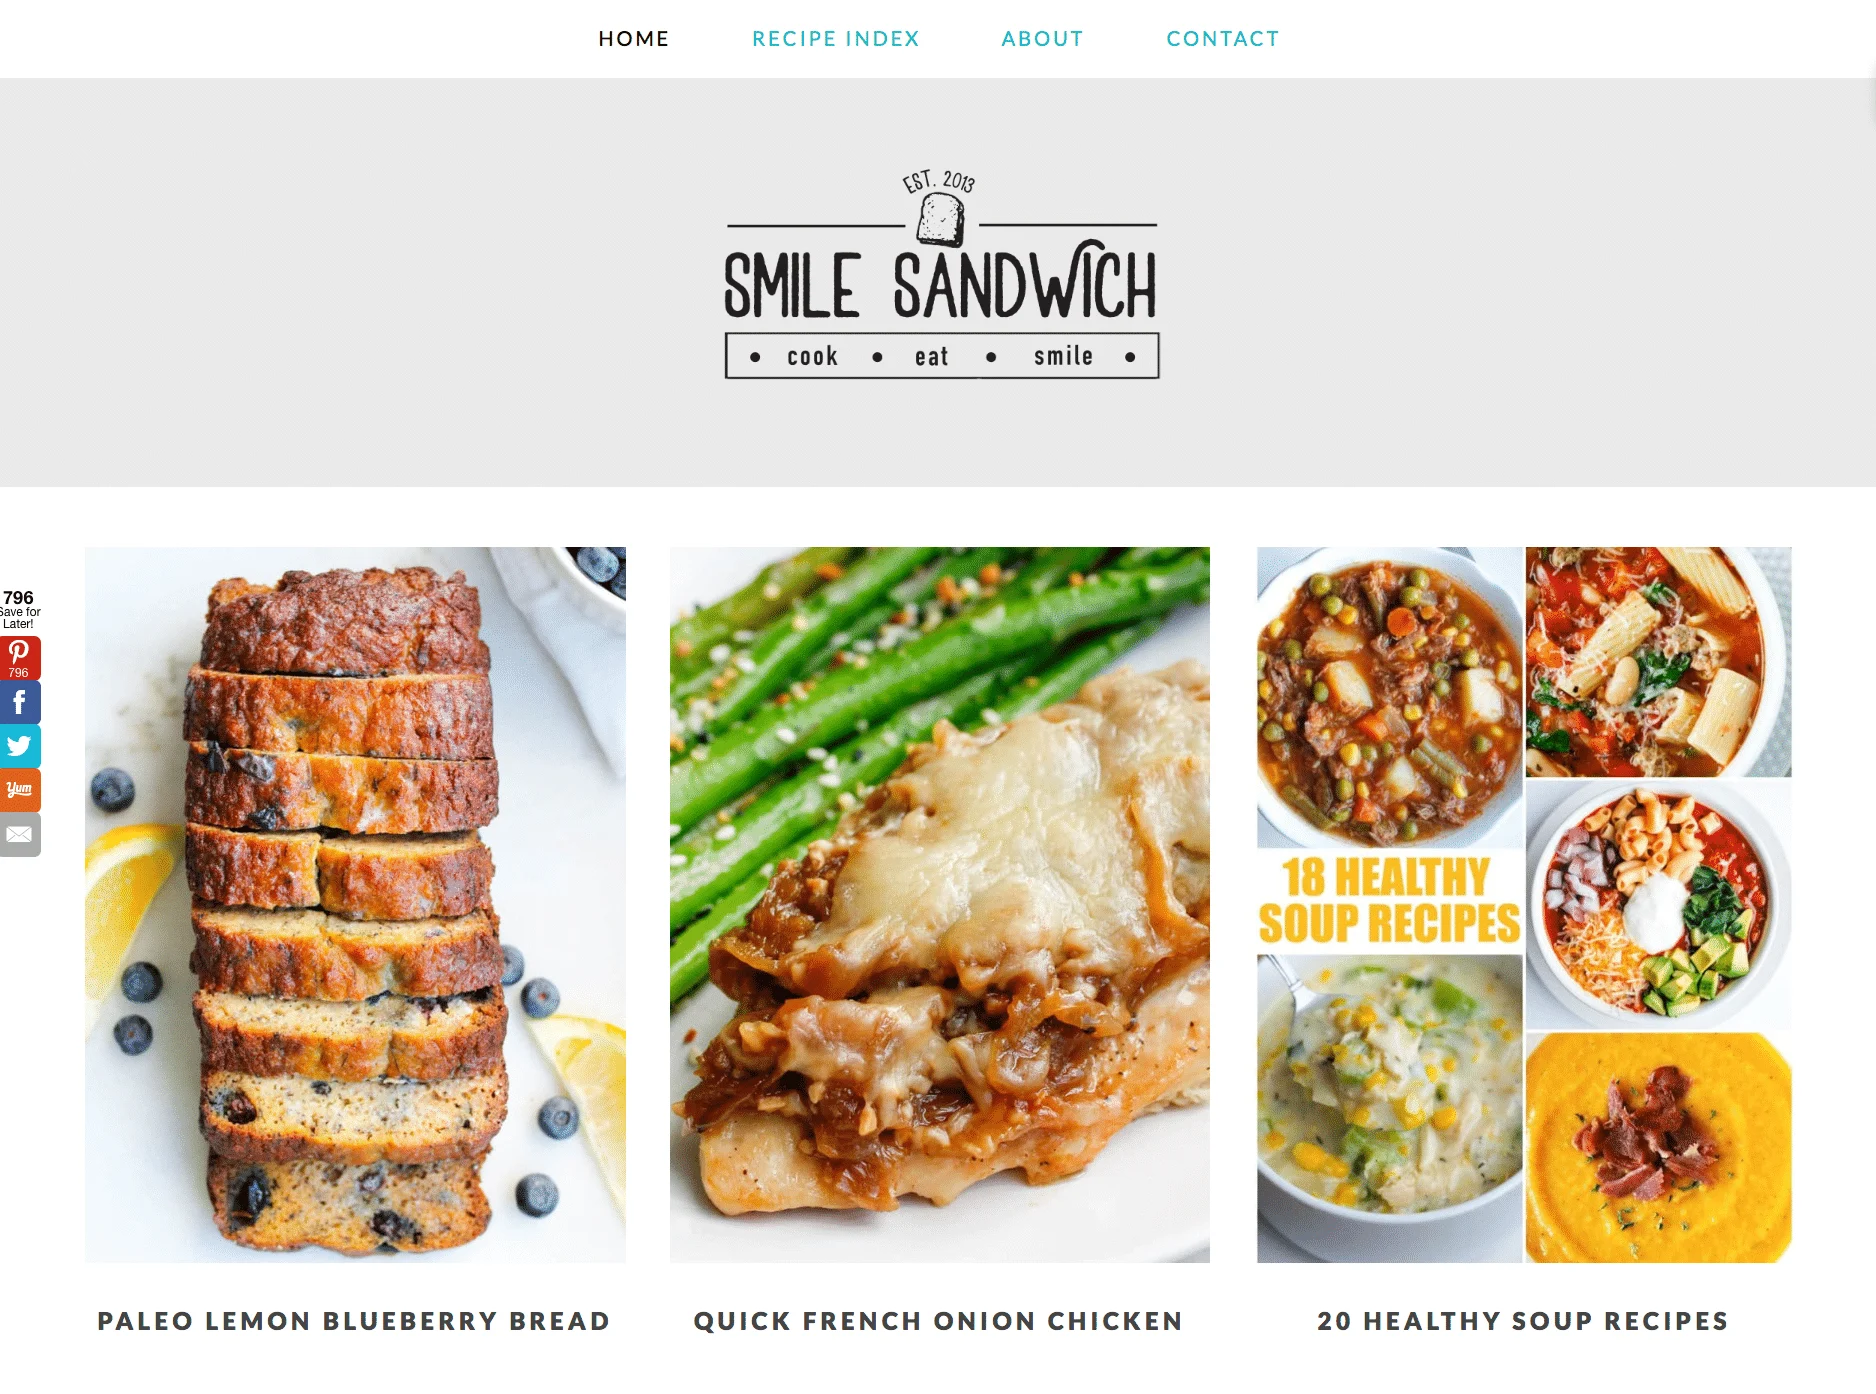
Since starting Smile Sandwich in 2013, I’ve grown my blog traffic to 250K+ pageviews per month, I’ve grown my Pinterest to 7.8 million monthly viewers, and I make two times what my rent costs in my large Chicago apartment most months.
Not bad for a side hustle! But that’s exactly what it is. A hustle.
So let’s talk about how I got there.

When and Why Should You Start a Food Blog:
Write About What Interests You: I cannot stress this enough. If it doesn’t interest you, I am willing to bet you will quit.
I have stayed up until 2am on a work night redesigning my blog, woken up at 5am before work to finish a photo shoot, and spent countless nights and weekends writing, editing, shooting, cooking, scheduling, socialing … all of it. I would not have done any of these things if I didn’t truly LOVE doing it.
What do you love to do? What do you love to talk about? This is where you should start with concepting your blog. (And don’t feel overwhelmed … I started as a strictly Paleo blogger and let my brand evolve on its own. Yours will likely do the same).
Finding a Niche: Let’s be honest, the blogging space is oversaturated. The easiest way to overcome this is to be specific in what you write about.
Instead of just a recipes blogger, I’m a healthy recipes blogger with a focus on meal prep and quick after-work dinners. Instead of just having a “lifestyle” blog, maybe you want to focus on a sustainable/minimal lifestyle. Instead of just a “fashion” blog, focus on work attire. The more specific the better, because this makes it easier to define who you’re talking to.
Knowing When to Start: There is never a perfect time to start anything. I’m a firm believer that the only way to do it is to just DO IT ALREADY.
Yes, there are a million bloggers out there. Yes, it takes time and potentially some money to get it off the ground. But if you wait for the right time to start, you’re just delaying the potential to reach your goals and create something amazing.
What Not to Do: Don’t start with monetizing in mind.
I started Smile Sandwich in 2013, things in the “influencer” world were much, much different. Instagram was not yet as big as it is today, and people were much more willing to visit and read blogs/websites instead of just scrolling endlessly through pretty pictures on Instagram.
I started because I wanted to write and keep record of the recipes I was making. I didn’t start because I wanted to be Instagram famous. In fact, I sort of hate Instagram influencing to this day and only participate in Instagram in hopes of building a community.
It took me at least a year or two to start making money on my site. You need to build a foundation of great content and a loyal following before you start pitching yourself to brands or using affiliate links. Without these two things, you don’t have the trust of your audience.
Focus first on building traffic from reliable sources. (I do however suggest starting with a small amount of ads from the start via Google AdSense.
I’m Ready to Start, What Do I Do?:
Okay, so you’ve got your niche and you’ve got your blog name and you’ve got your collagen coffee and you’ve got your motivation to do the damn thing. Let’s go!!
Step One: Build the Site
- Content Creation Platform: I’m a big huge fan of WordPress.org. Yes, there are free options out there, but getting started with WordPress is going to make your life so much easier in the long run. It’s great because it’s fully customizable (which is easy to do with a theme).
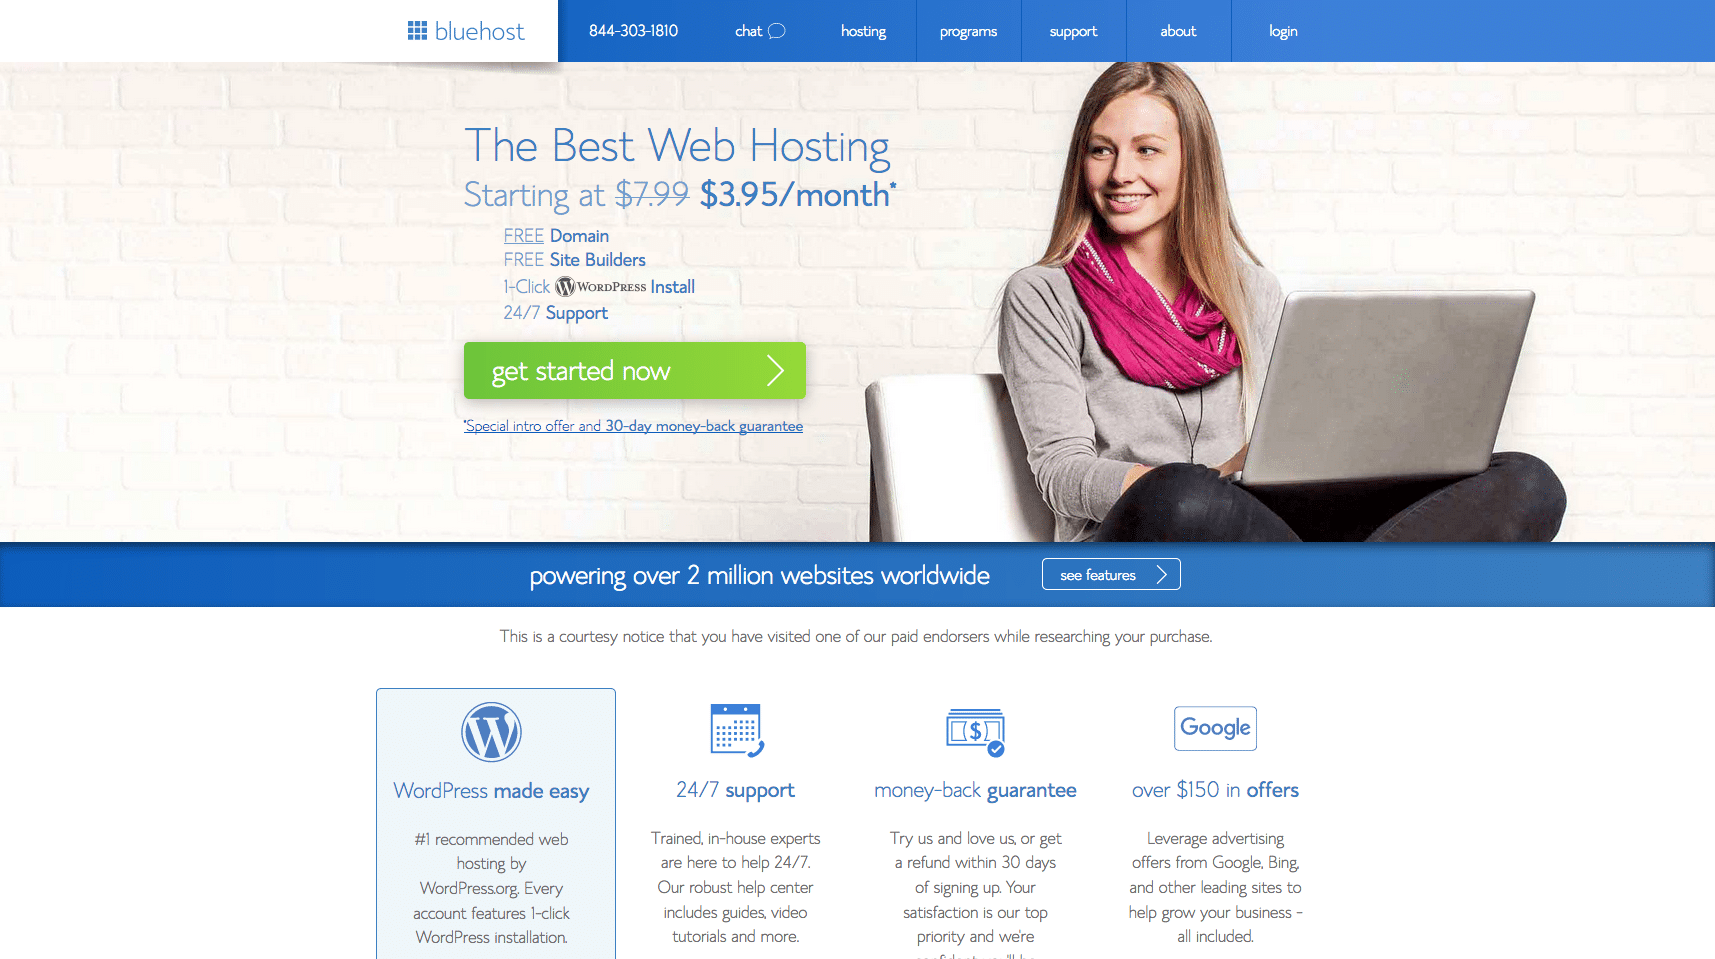
- Site Host: You’re going to need your own domain. This is usually the name of your site (i.e. smilesandwich.com). My domain is hosted on Blue Host – I have found it’s one of the less expensive hosting sites and I’ve always had good experience with their customer service. Again, you can start a blog for free without your own custom domain, but if you’re serious about your site, just buy the domain so you don’t have to switch over later.

- Site Theme: I use the Brunch Pro theme by Feast Design Co. It’s only $75 and super easy to customize! You don’t really need any knowledge of coding, and you can make it look amazing for super duper cheap. Plus, it’s automatically optimized for mobile (which is HUGE).
Step Two: Make That Content
Photography Resources:
- My top tip is to shoot in natural light whenever possible. I many times save food from dinner and shoot it before work the next day to get that natural light.
- When I can’t use natural light, I have these indoor lights.
- I use a Canon Rebel, which I think is a great camera to start on! I sometimes (although rarely) use my iPhone for photography and videos as well.
- I shoot with a 50mm lens (cheaper, good for starters) or Sigma 35mm lens (more of a splurge, but soooo worth it)
- Favorite resources for learning photography is Food Blogger Pro (they have a great podcast), and Pinch of Yum Tasty Food Photography eBook! Start here, then practice, practice, practice.
- Photo editing apps and programs: Adobe Lightroom (for editing all photos), Canva (for writing eBooks and creating graphics), Picmonkey (for creating Pinterest images)
- My favorite props for food photography are plain white flour sack towels, small round white plates (make sure they’re salad sized so you can fill them more), white ramekins (place these upside down in a larger bowl before filling it to make your bowl look more full) a marble board as a faux tabletop, and plain white cardboards for reflecting light.
Favorite WordPress Plugins
- Yoast SEO – this plugin grades your content for SEO optimization. It’s SO important you optimize each post for SEO … do this early!
- Akismet Anti-Spam – filters your comments for spam so you don’t have to!
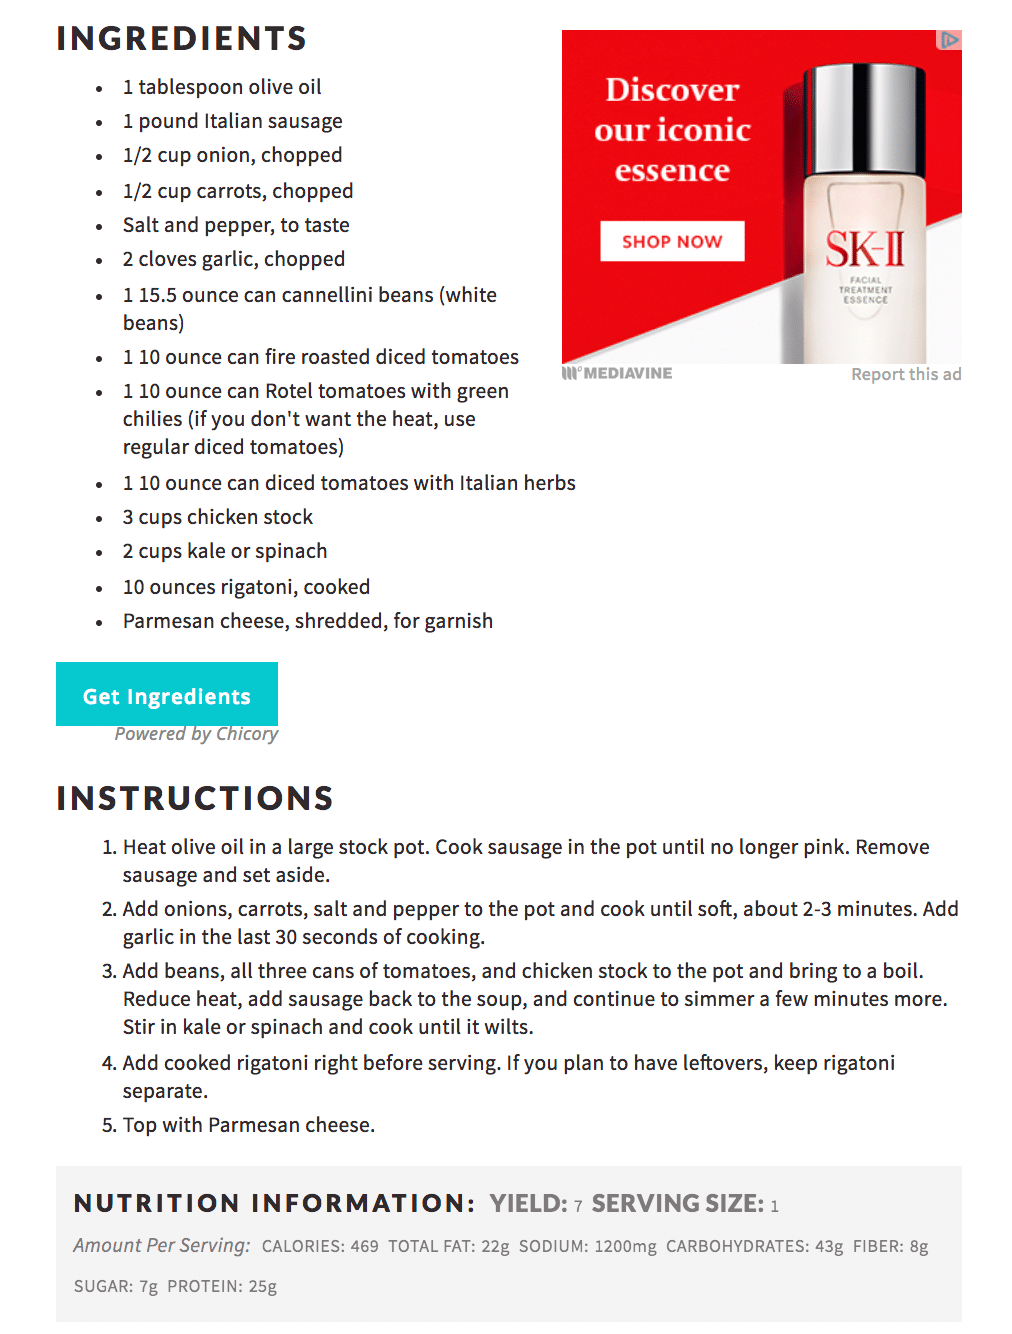
- Create by Mediavine – lets you super easily create recipe cards with nutrition info and allows me to create recipe roundups in mere minutes! Here’s an example.

- Imagify – automatically reduces the size of your images so your site runs faster
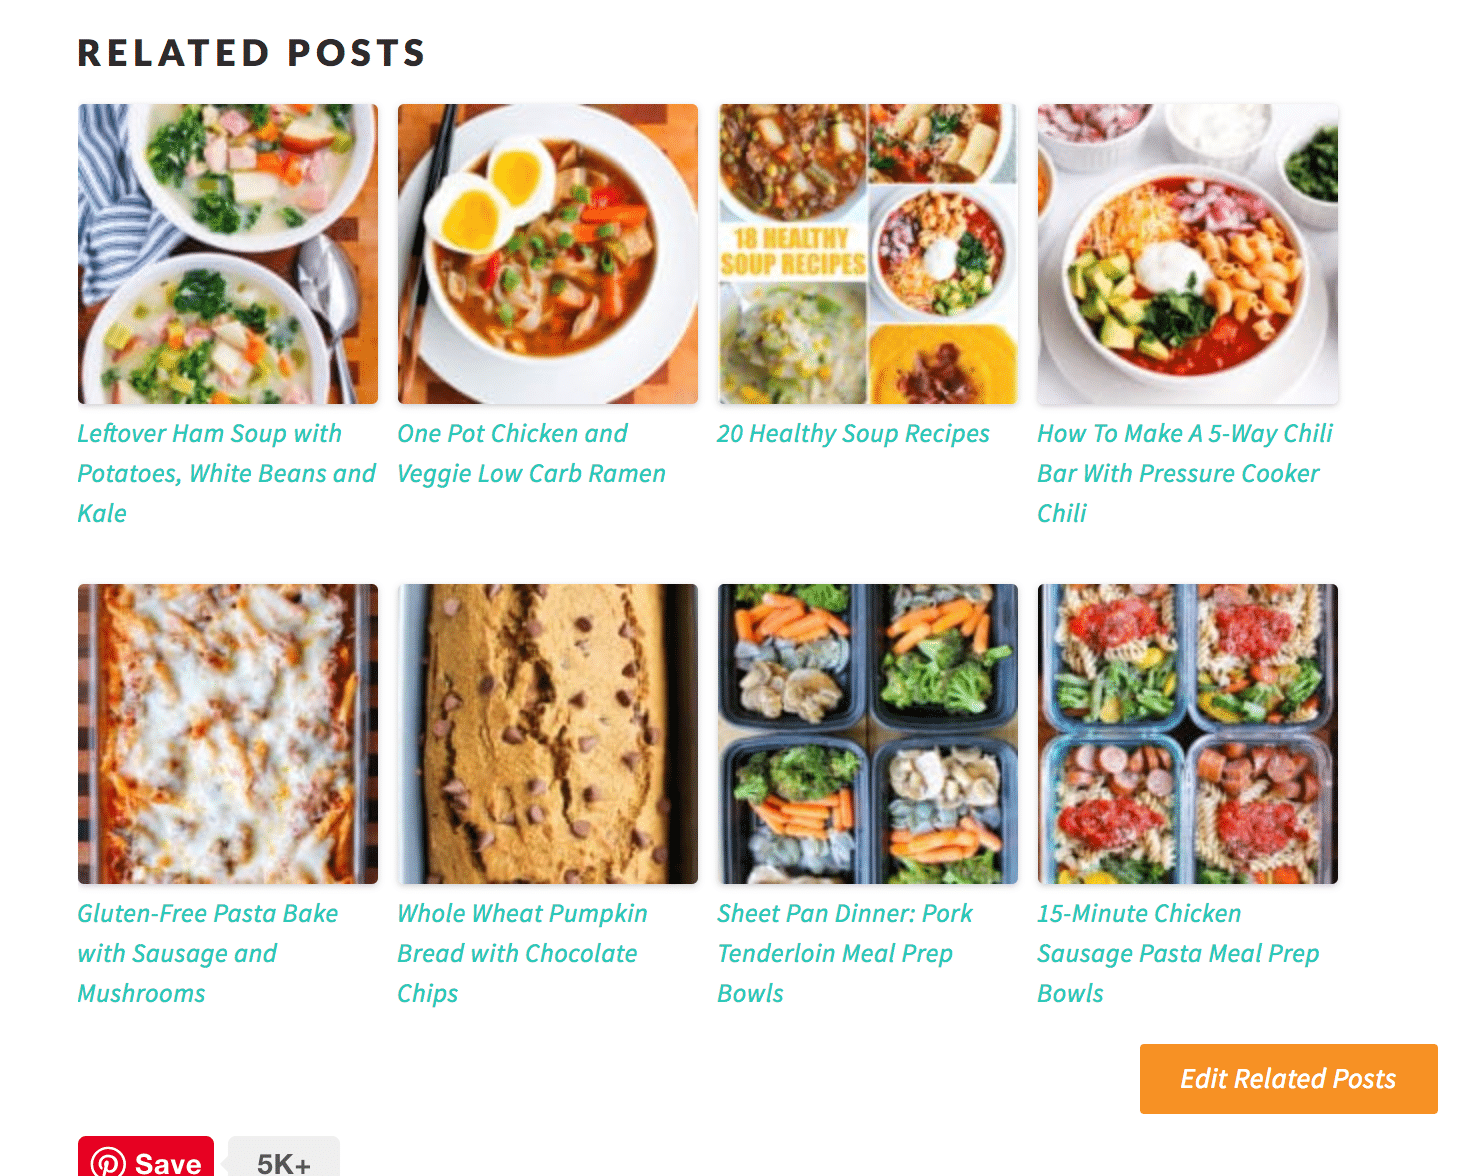
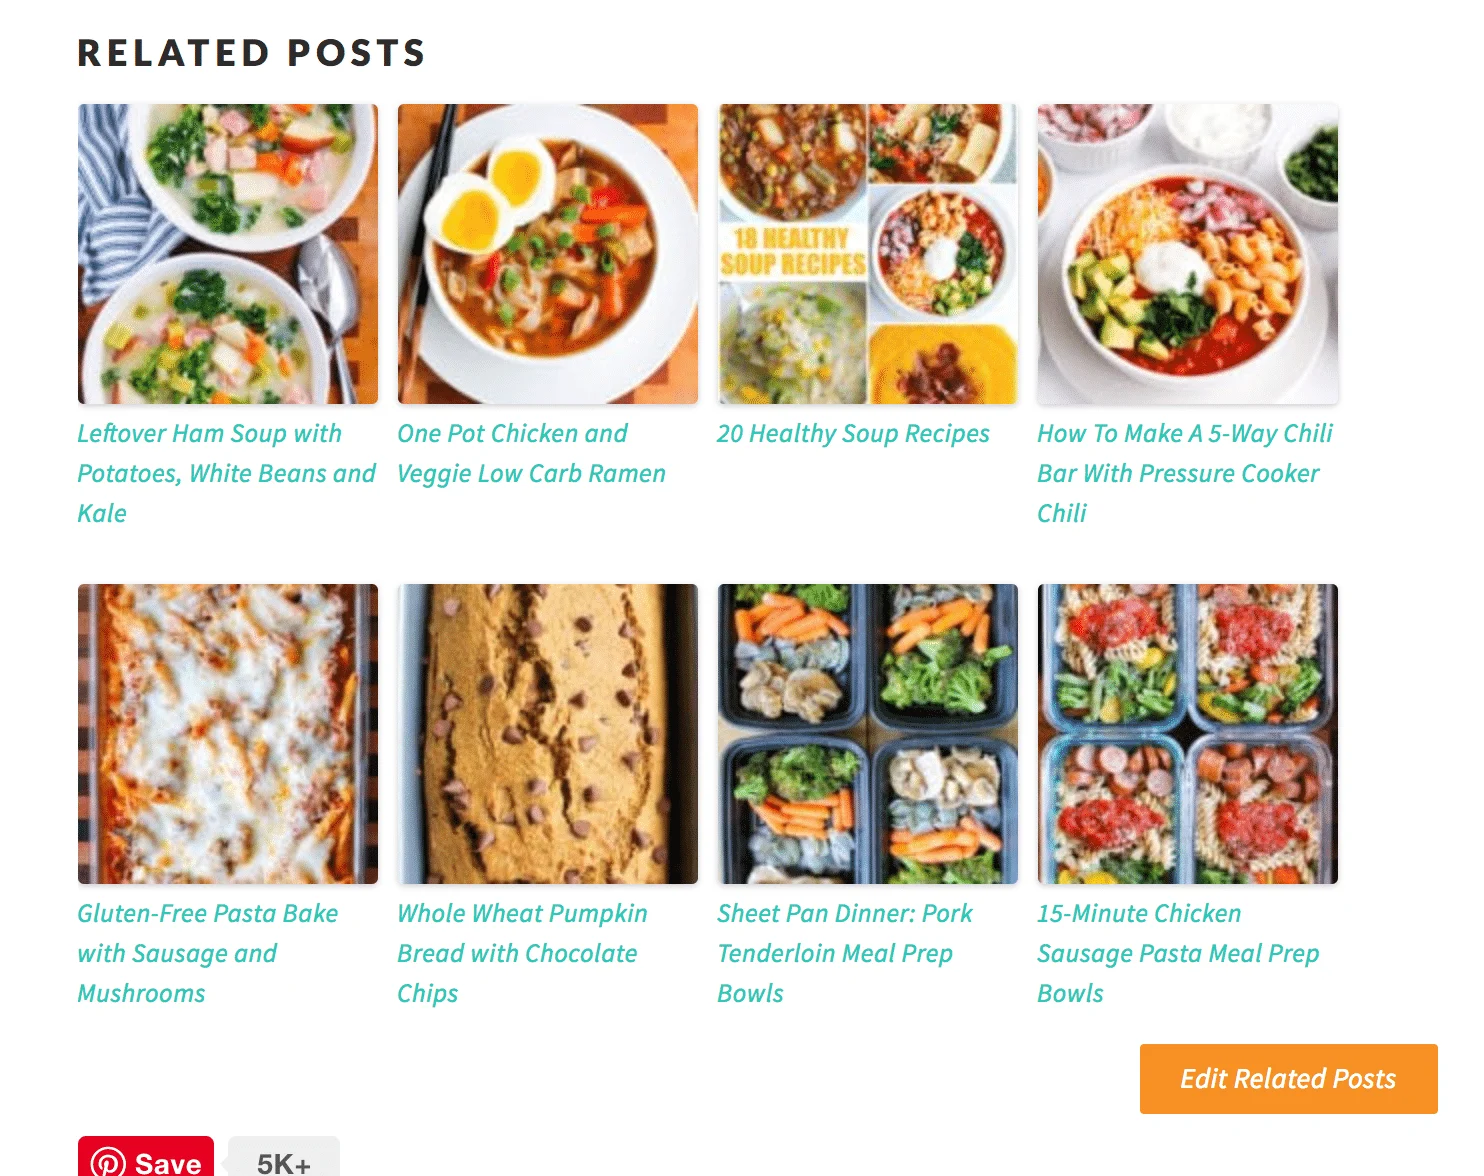
- WordPress Related Posts – automatically displays related posts at the bottom of each post
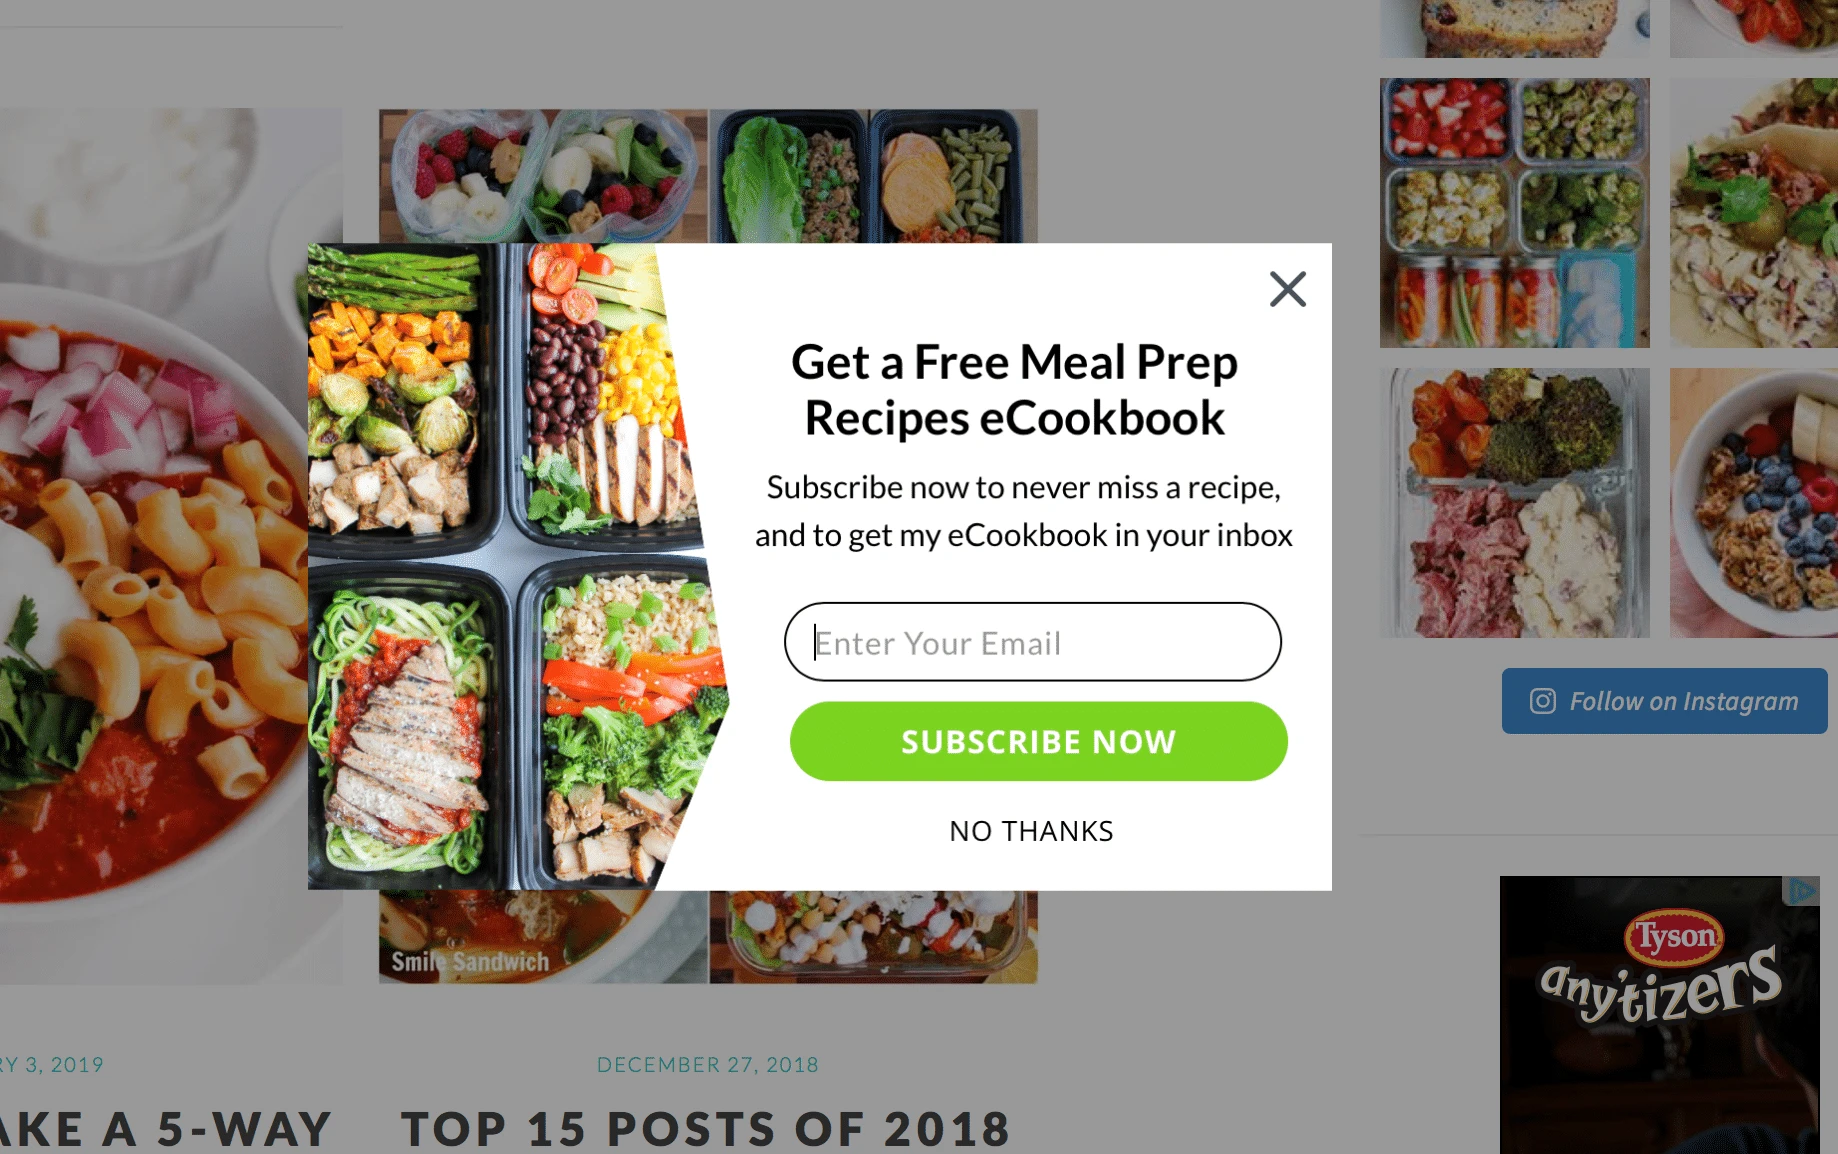
- SumoMe – displays social buttons on every device. This is also what I use for my newsletter pop-up.

- Autoptimize – automatically alerts you to clear your cache
Step Three: Promote Your Awesome Content
Favorite Social Media Tools:
- Tailwind!!! Please join. Seriously best money I ever spent. It allows you to easily schedule your Pinterest feed ahead of time and join tribes of other food bloggers who share your content for you.
- SEM Rush – a tool for keyword searching and other helpful tips to optimize for SEO.
- Picmonkey – This is what I use for creating Pinterest collages. I find success with vertical pins including two images and words. Here’s an example.
- Canva – This is what I use to create Instagram stories, eBooks, and sometimes Pins.
Create a Mailing List:
I soooo wish I did this sooner. MailChimp makes it super easy.
- Incentivize people to sign up with a free download (eBook, grocery list, shopping list, meal plan, etc). It doesn’t have to be complicated – mine is a roundup of recipes that are already on my site.
- Create a popup on your home page for people to sign up.

Build Your Site, Not Just Your Instagram
Instagram algorithms change and they are beyond our control. We do not own any social media platforms … the only thing we own are our own domains.
If you’re starting a blog with the goal to make it a business, focus on your website, not just Instagram.
- Diversify your traffic sources – ideally, Google search would be high on your list. This is something I’m working on because mine is unevenly balanced with Pinterest.
- Drive traffic to your site – link to your site most, not your LikeToKnowIt profile or anywhere else.
- Add cross links – go back to your old popular posts and add links to your new related posts at the bottom. This keeps people on your site. I’m also a big fan of compilation posts (like this example).
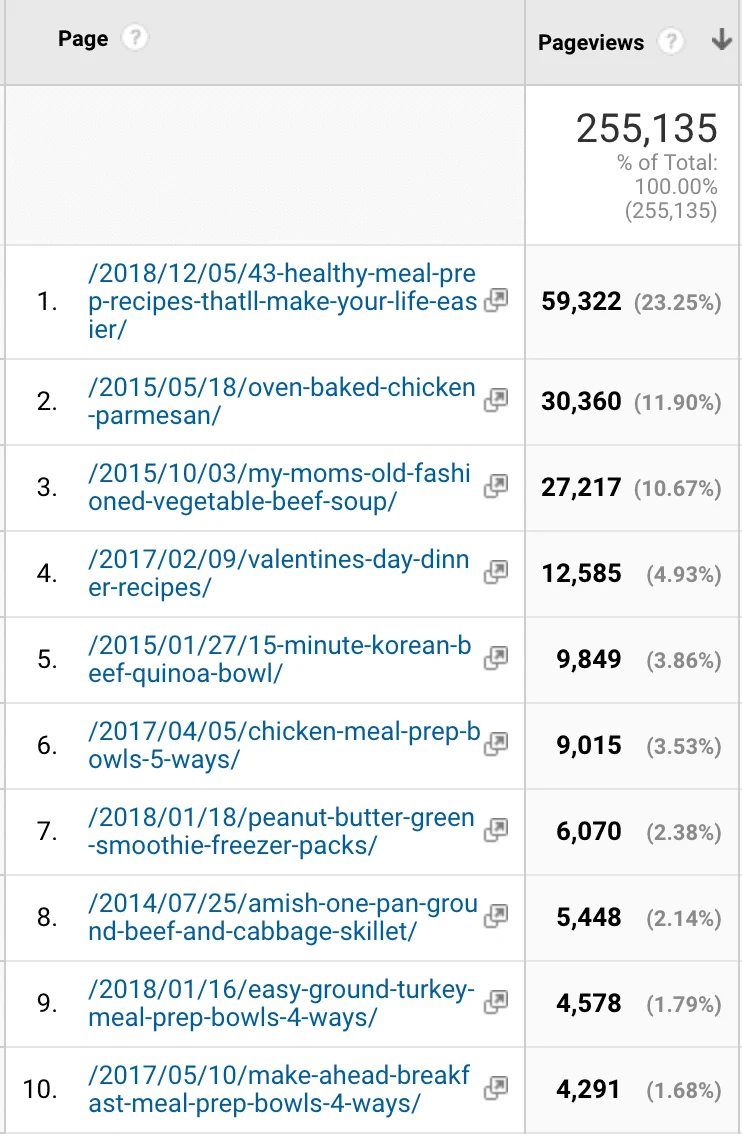
- Get comfortable with analytics – check regularly to see which posts are performing best and where your traffic is coming from. This will help you get to know your audience!


How to Monetize a Food Blog:
- Once you establish a decent following, join an ad syndicator. A good place to start is Google AdSense because the don’t have a minimum traffic requirement. Mediavine is my ad syndicator. If you have enough pageviews, I could not recommend them high enough. Switching over to Mediavine grew my revenue by at least 5x.
- Get familiar with affiliate programs. Many influencers earn income in the form of a percent of sales for products they recommend. Shareasale, Amazon Associates, and Reward Style programs are great for affiliate links.
- Participate in sponsored posts. If you have time, pitch yourself to brands you know and love! If you’re like me and you’re short on time, use a third party to make it easier. I like Ahalogy – they send out sponsored post programs you can apply for. Others are The Sway, TapInfluence, Collectively.
- Create a Media Kit. Try to keep it to one page if possible, and keep it very high level. Include website stats, examples of previous partnerships, and contact information. I do not recommend including rates because they should change depending on the scope of the project.


More than anything, focus on creating great content and the rest will fall into place! If you love what you’re writing about and work hard at it, you can turn a blog into a side hustle in not time.
Mom
Saturday 9th of March 2019
I had no idea how much you have learned while growing your blog. I am so proud of you and all your hard work. This is a wealth of information.
Tahmina Ferdous
Monday 4th of March 2019
This is a really comprehensive guide! Thank you! Bookmarking this to help me grow my food blog
jordansward@gmail.com
Tuesday 5th of March 2019
Thank YOU for reading! Hope it helps!